DIY Faux Wood Plank Wall
The links in this post may be affiliate links. That means that if you click them and make a purchase, this site makes a commission. It will have no impact on the price you pay or the experience of your purchase.

Wood plank walls have been on my mind for some time now. Painted or wood tone, I love the subtle vintage-industrial look. I was first inspired to try a faux wood wall by Hello Little Bungalow. Pinned a lot of ideas. And finally committed to trying it for our playroom makeover!
The biggest reason I chose a faux vinyl product vs. wood is I did not have to touch a power tool. I was able to cut everything using a box cutter, and I could do it without help. The product is thin, and once it is scored you can snap it and get a clean break.
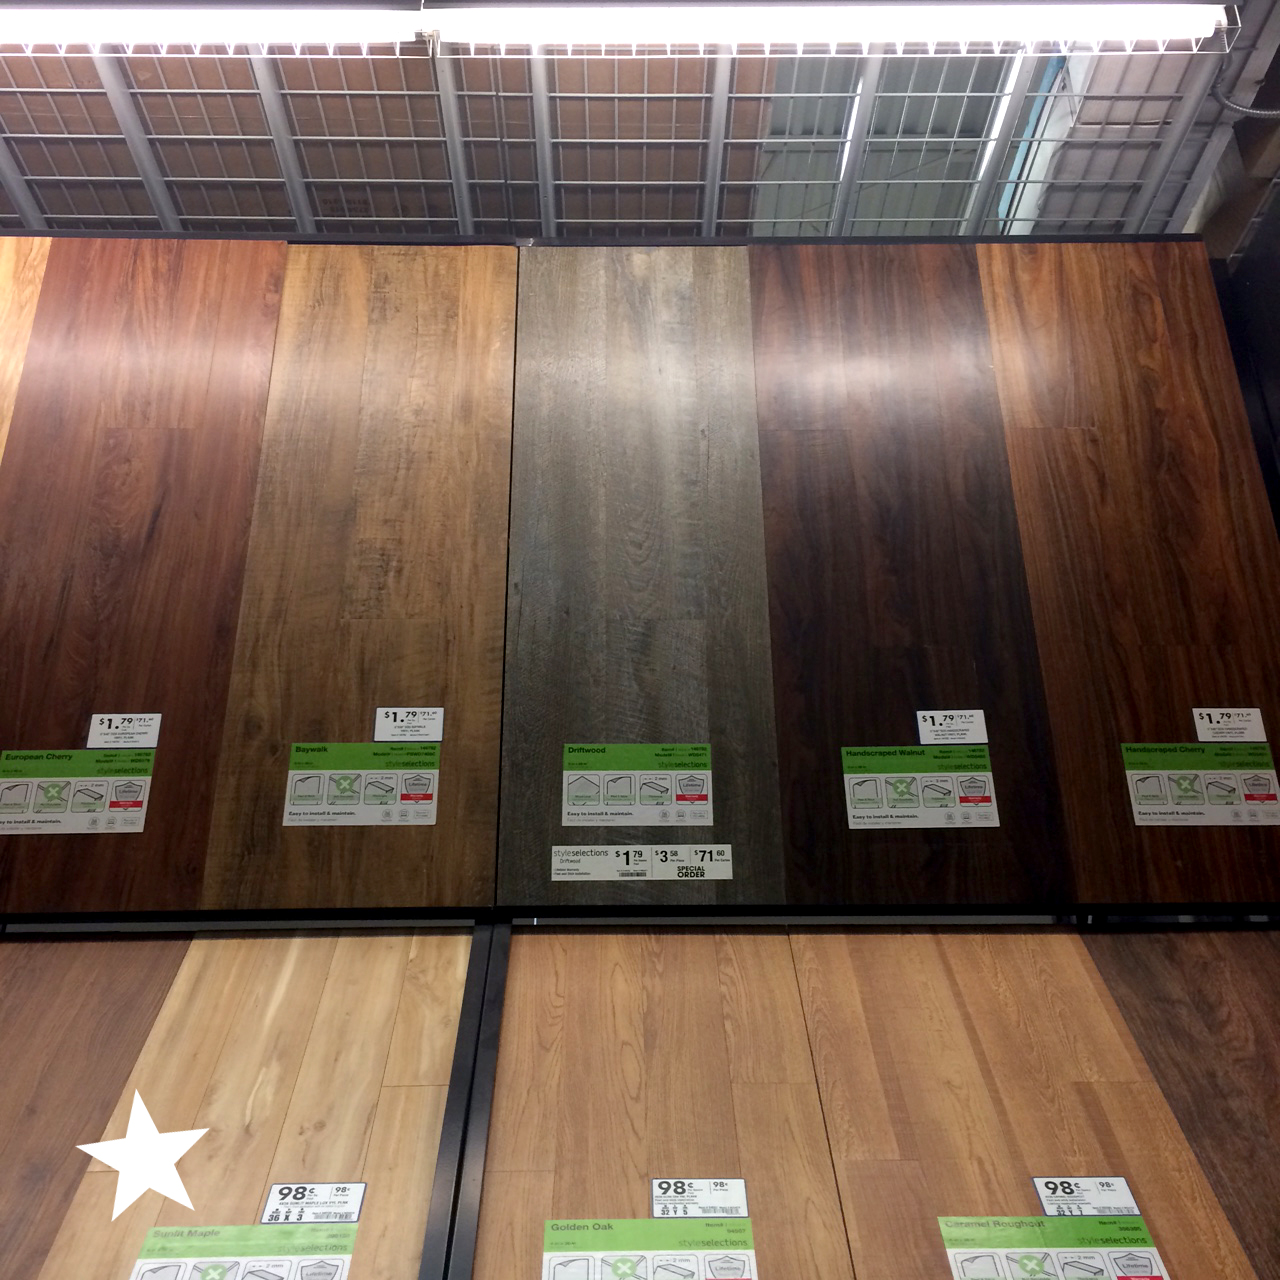
After studying the thin vinyl flooring options (be sure to get the peel-stick not the click plank!) You want the planks to look at authentic as possible. I selected the light maple due to its varying wood grain and pattern.
I needed two full boxes plus 15 additional pieces. You can buy them individually, which I find a huge plus. It cost under $100 and we adore the texture it added to the space.

This article contains affiliate links, please read my full disclosure here.
Supplies
Peel and Stick vinyl faux-wood planks
A level
A yard stick, 24 inch ruler, and a straight edge
A utility knife with fresh blades
Pencil with eraser
Step ladder
Hammer and drywall nails
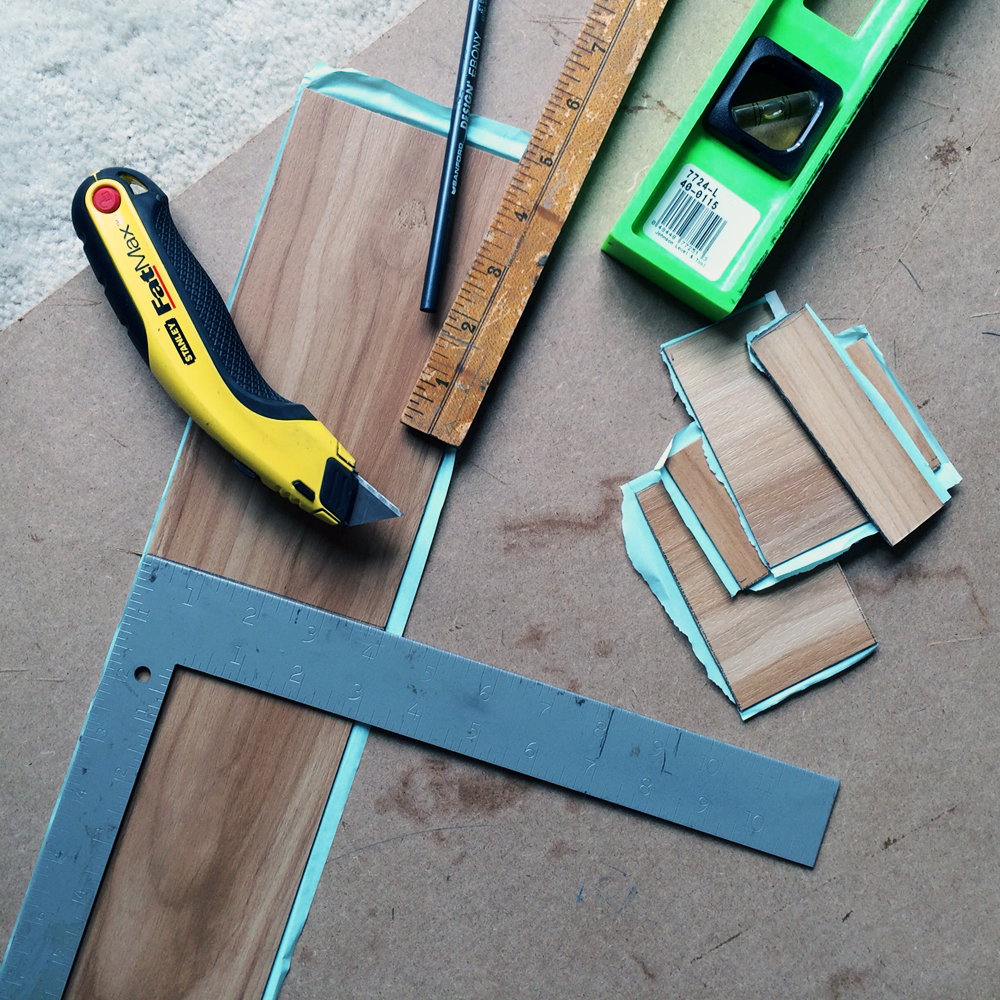
Find a center point and draw a level line across wall. Peeling off backing, place full planks on wall. You will be able to adjust them a bit until they are nailed. Nail at top and bottom of plank. As you get further along in the project you will need to cut some of the planks. Use a ruler to measure and a straight edge to cut with razor blade.

The plank glue is not strong enough to hold planks on their own, so be sure to nail at top and bottom of plank. If using a long nail, check for wires first using a stud finder.
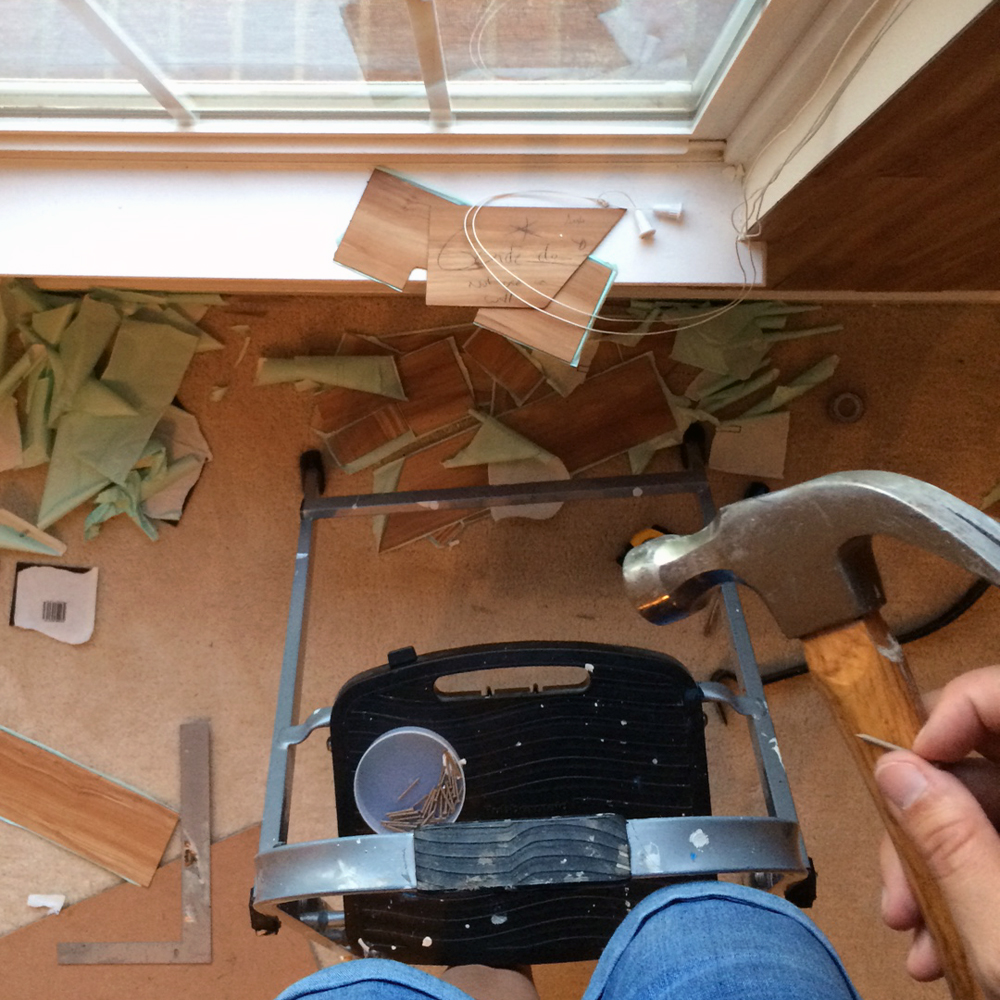
Have fun with it! We kept the pattern vertical, but you could easily try placing the planks horizontally. When laying the planks check the pattern each time to vary it. The hardest part in this room was the sloped ceiling. It was time consuming, but we love the finished result!
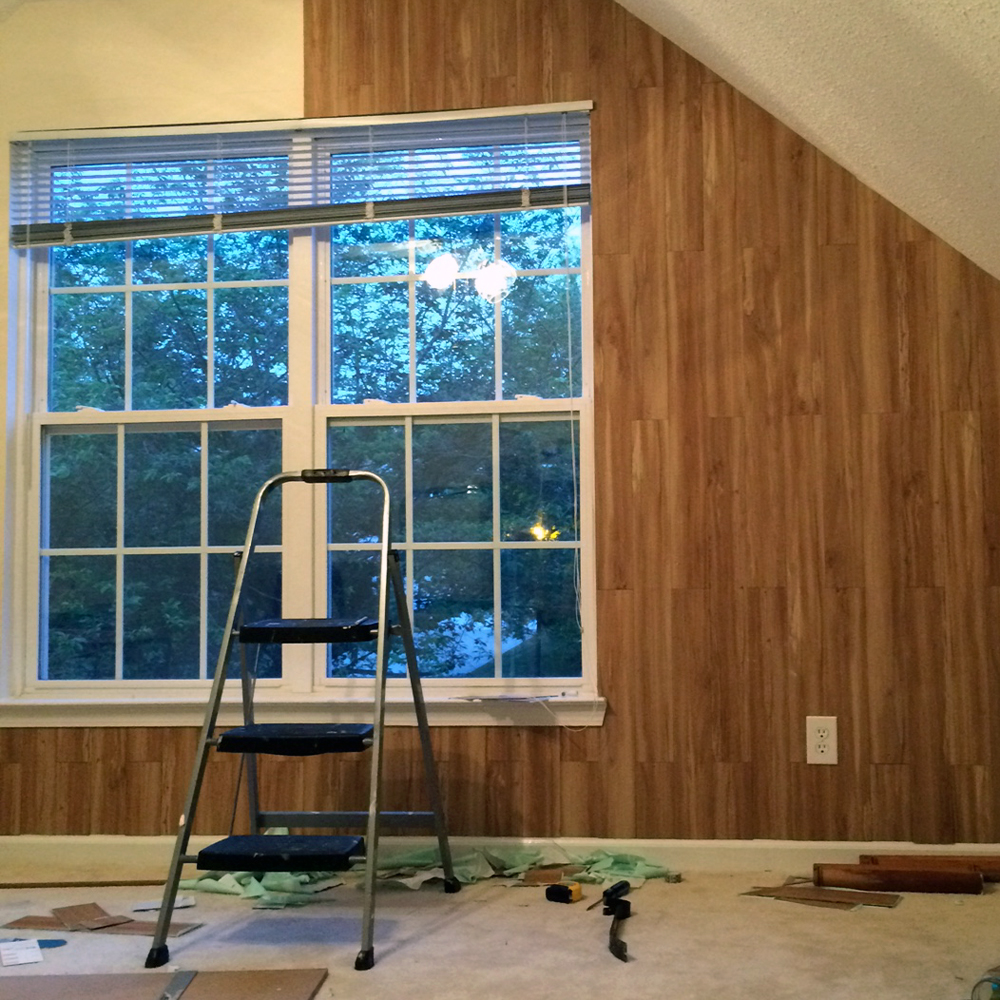

It took me about 1 week to complete, with a LOT of starts and stops. I worked on it in 1-2 hour increments. If 2 people worked on it all day it could be a 1 day project!
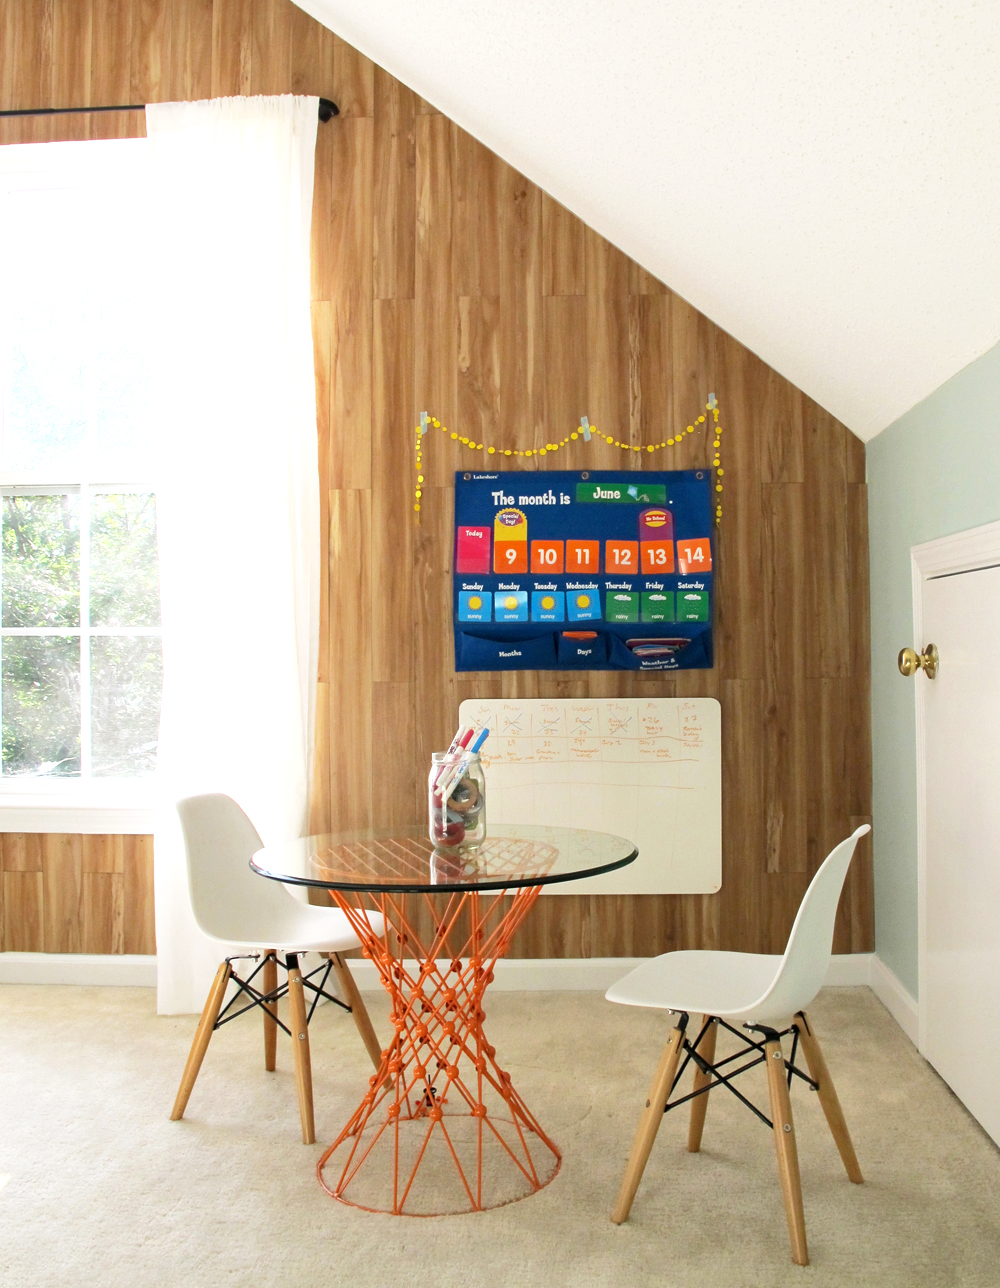
The finished result looks rustic and has a slight cedar look along the edge. It cost under $100 and we adore the texture it added to the space.

Check out the finished playroom!



You have done an amazing job with this DIY faux wood plank wall. The thing is wooden walls looks so good and so decent. I have to say great deal of work it is.