Faux Marble Contact Paper Tabletop
The links in this post may be affiliate links. That means that if you click them and make a purchase, this site makes a commission. It will have no impact on the price you pay or the experience of your purchase.
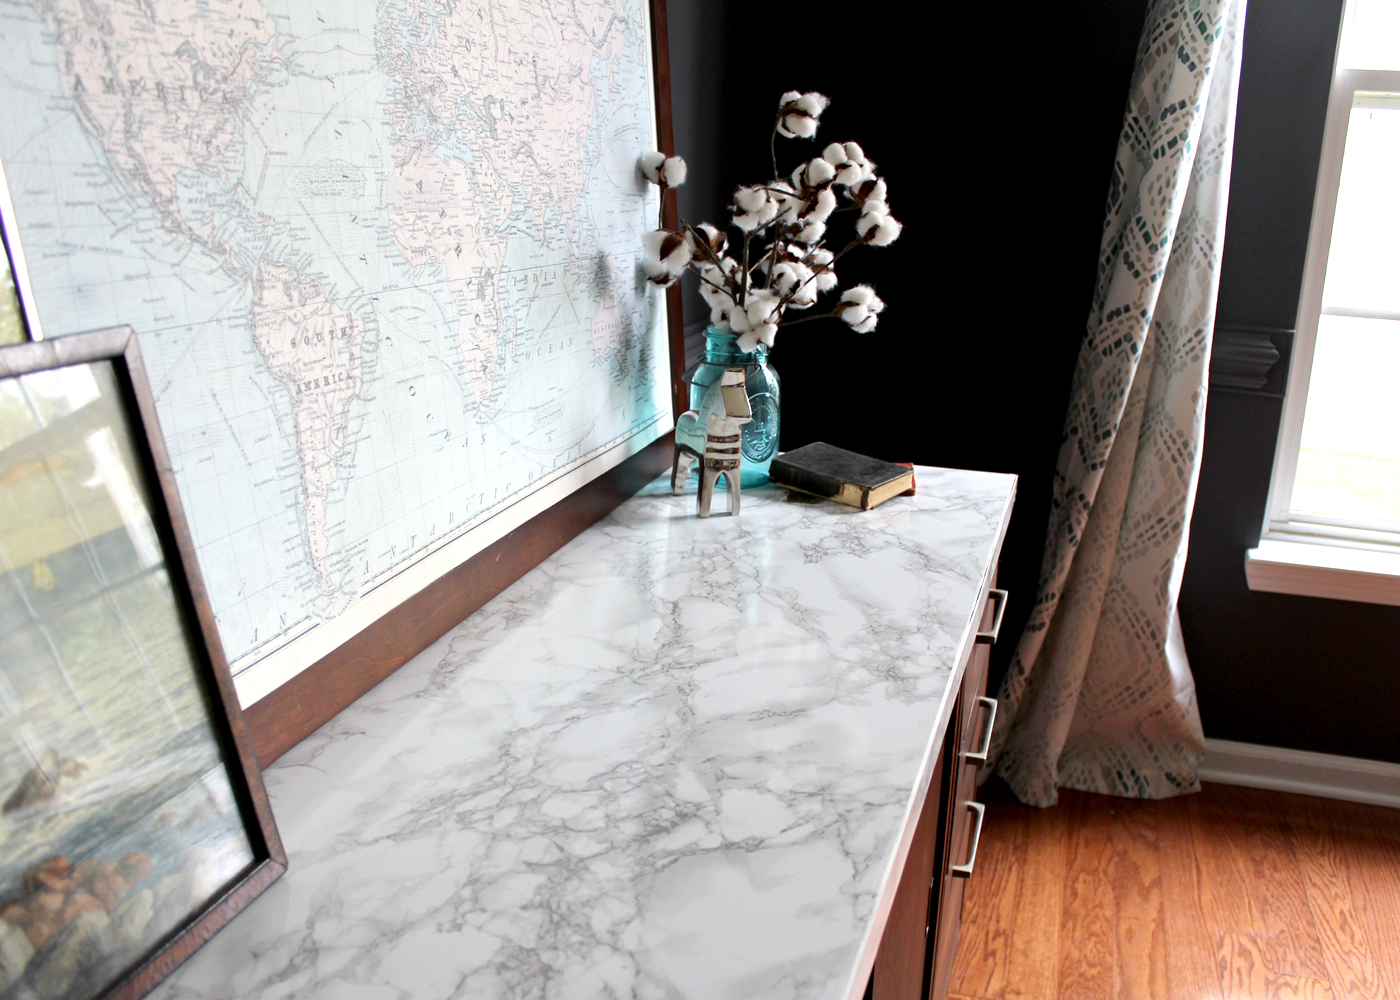
A few months ago we headed to our local Habitat Restore to find storage for all of our kids’ craft supplies. We wanted the furniture piece to look like it belonged in our dining room, and we wanted hidden storage (mesh baskets are cute but hard to keep organized!)
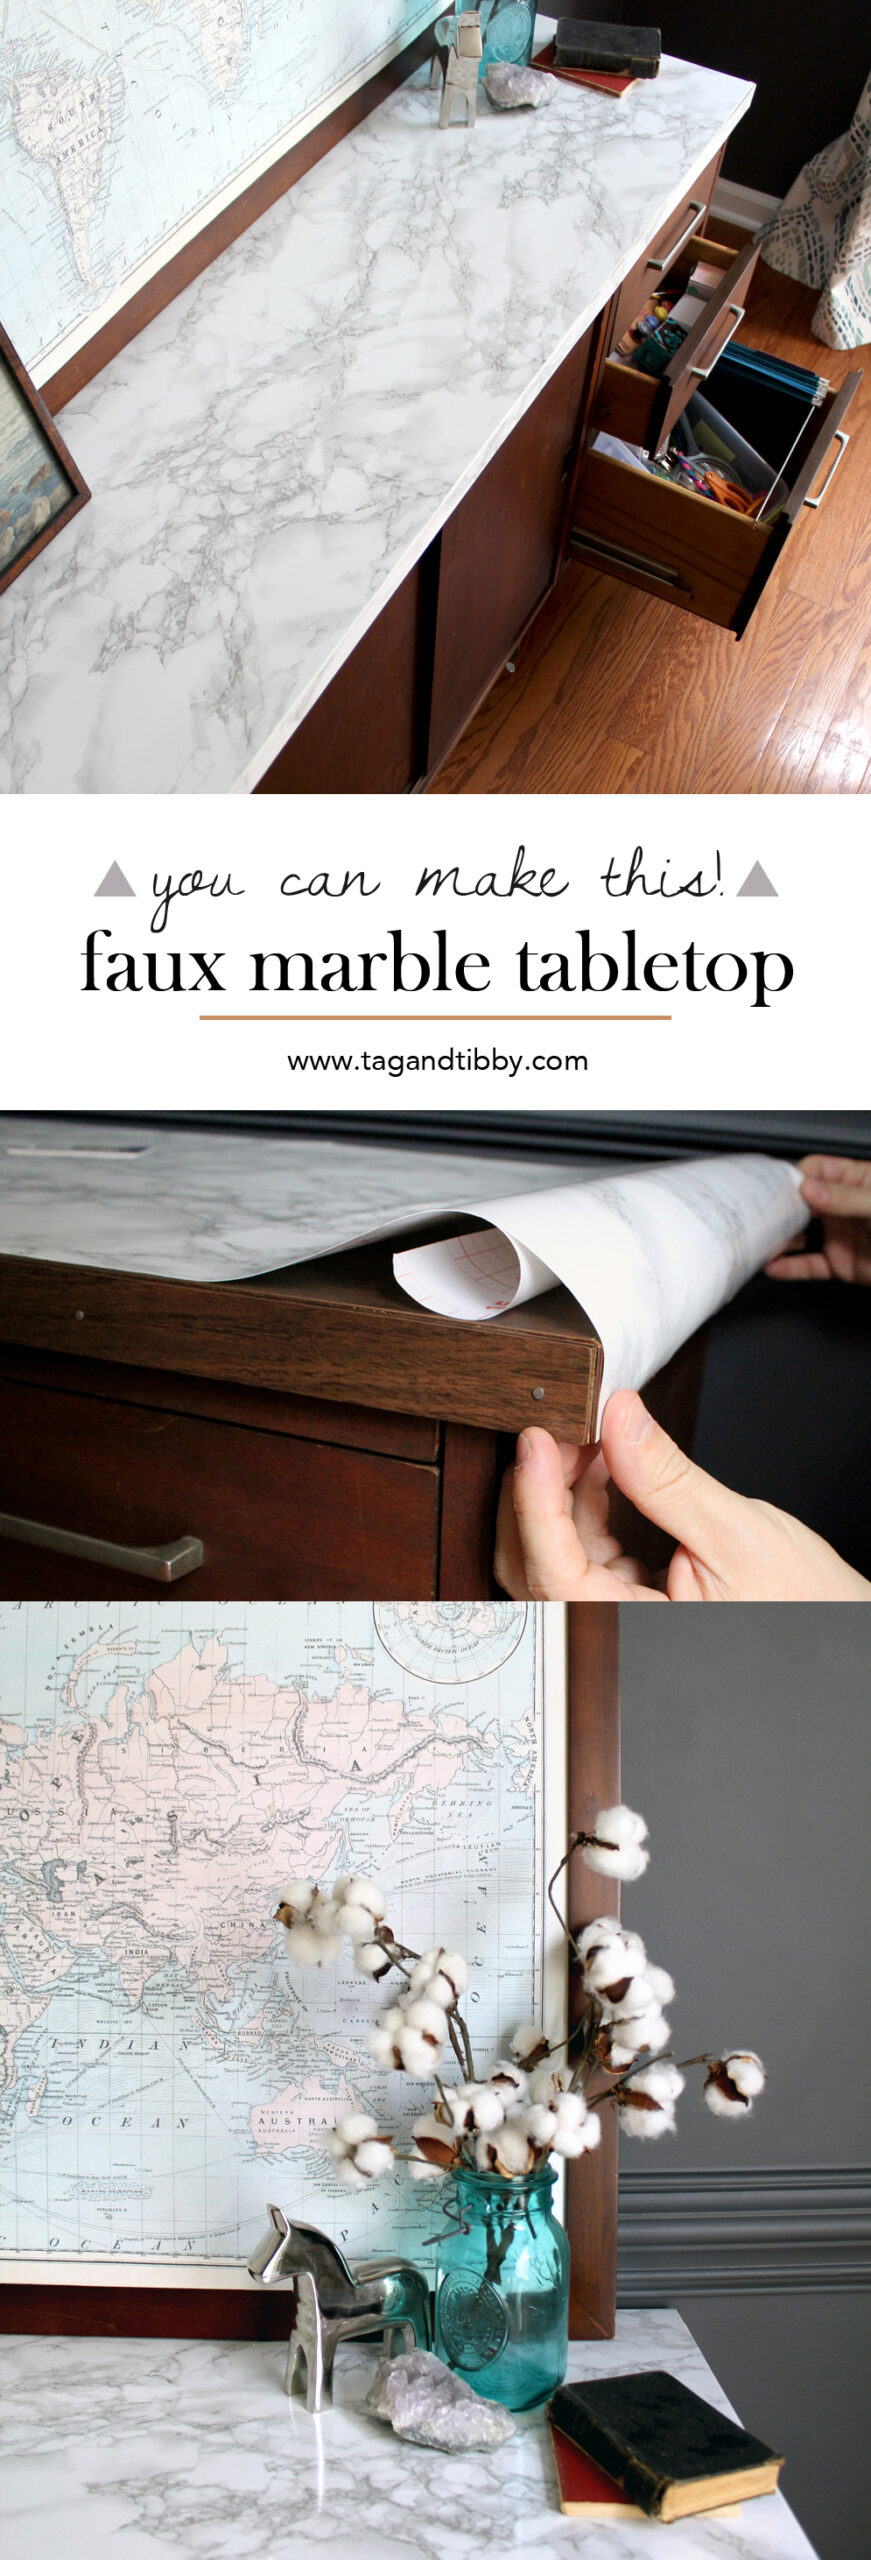
We came across a vintage buffet style piece for about $40. It was in solid shape but the formica top had a lot of scratches and wear. We swiftly purchased and added it to our furniture family. For under $10 we added contact paper with a marble pattern to the top of our dresser.

This article contains affiliate links, please read my full disclosure here.
Marble Contact Paper Tabletop Supplies
-A flat surface
-Credit card or similar
Step 1
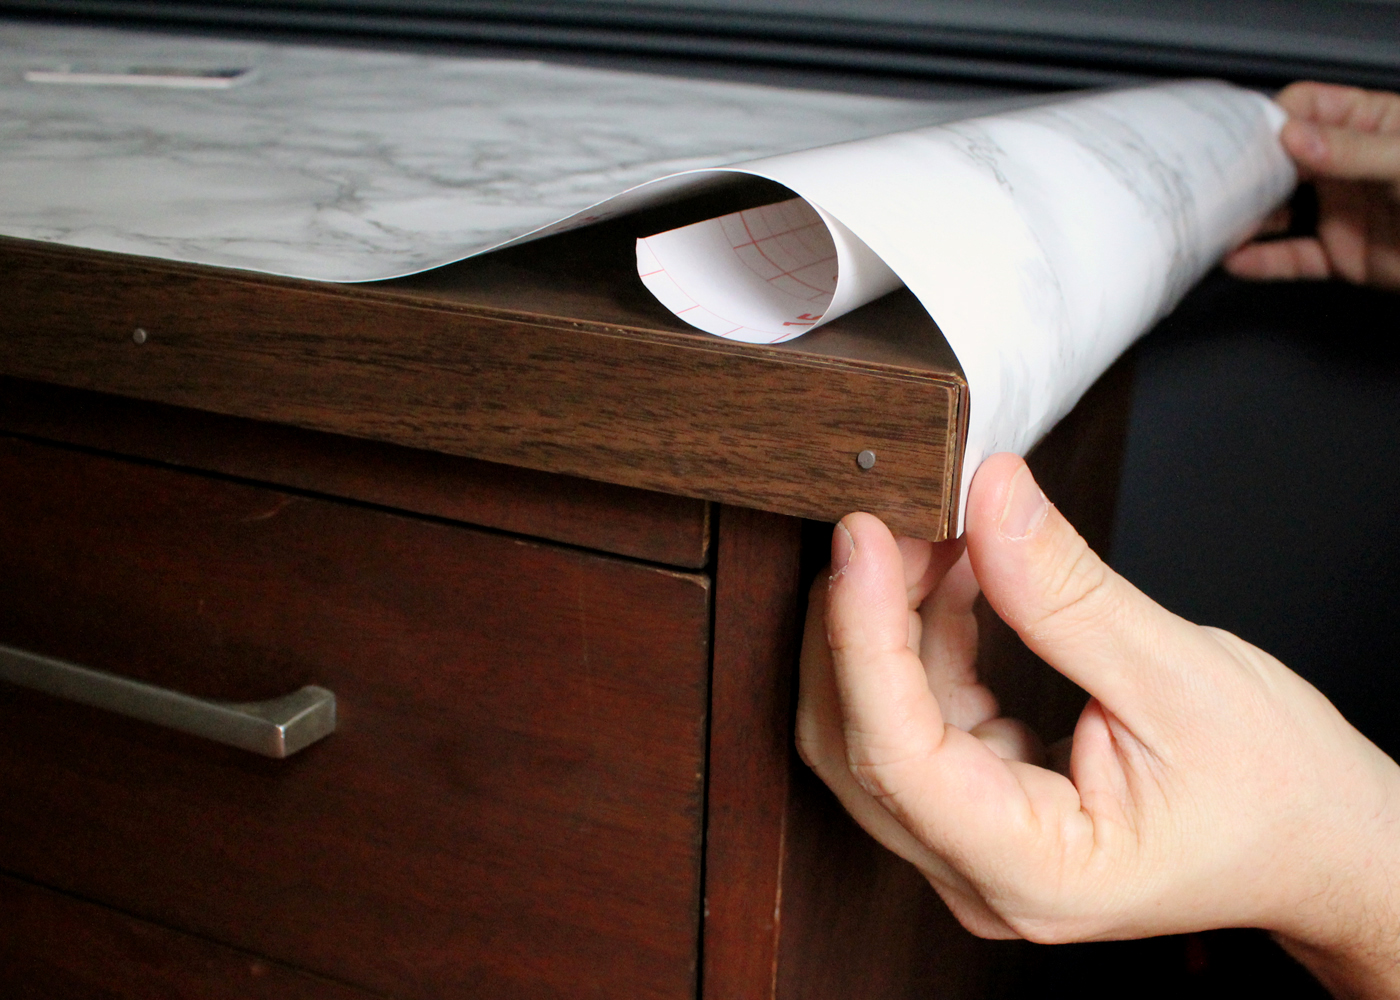
Measure how much contact paper you will need. Then gently peel back a bit of backing paper. Starting at a bottom edge gently press smooth to surface.
Step 2
Continue the process on flat top part of surface. I recommend pulling backing paper off slowly as you press down the contact paper.

Step 3
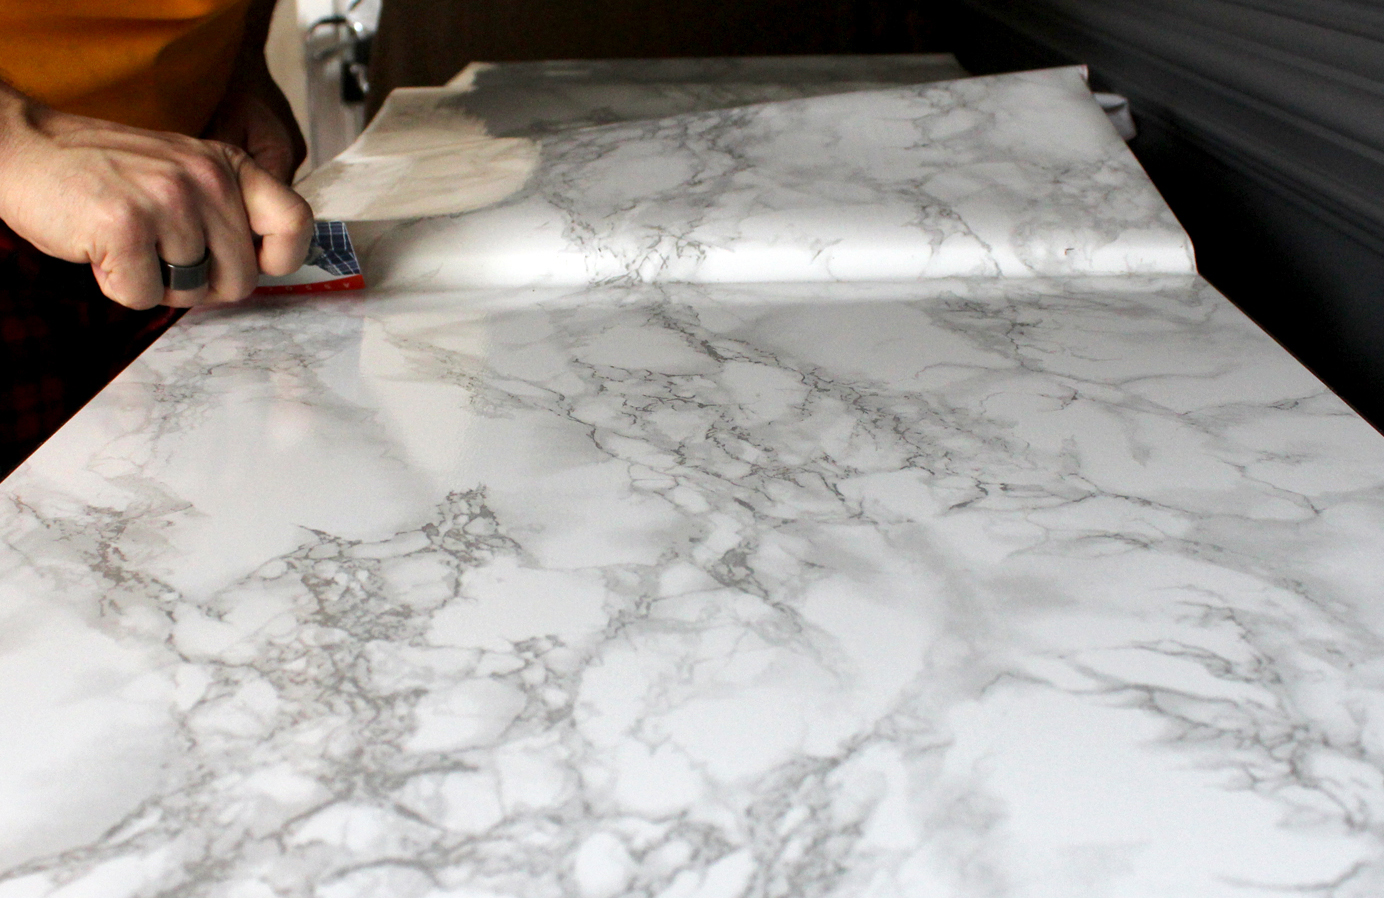
Use a credit card (or smoothing tool) to get a smooth surface without bubbles.
Step 4
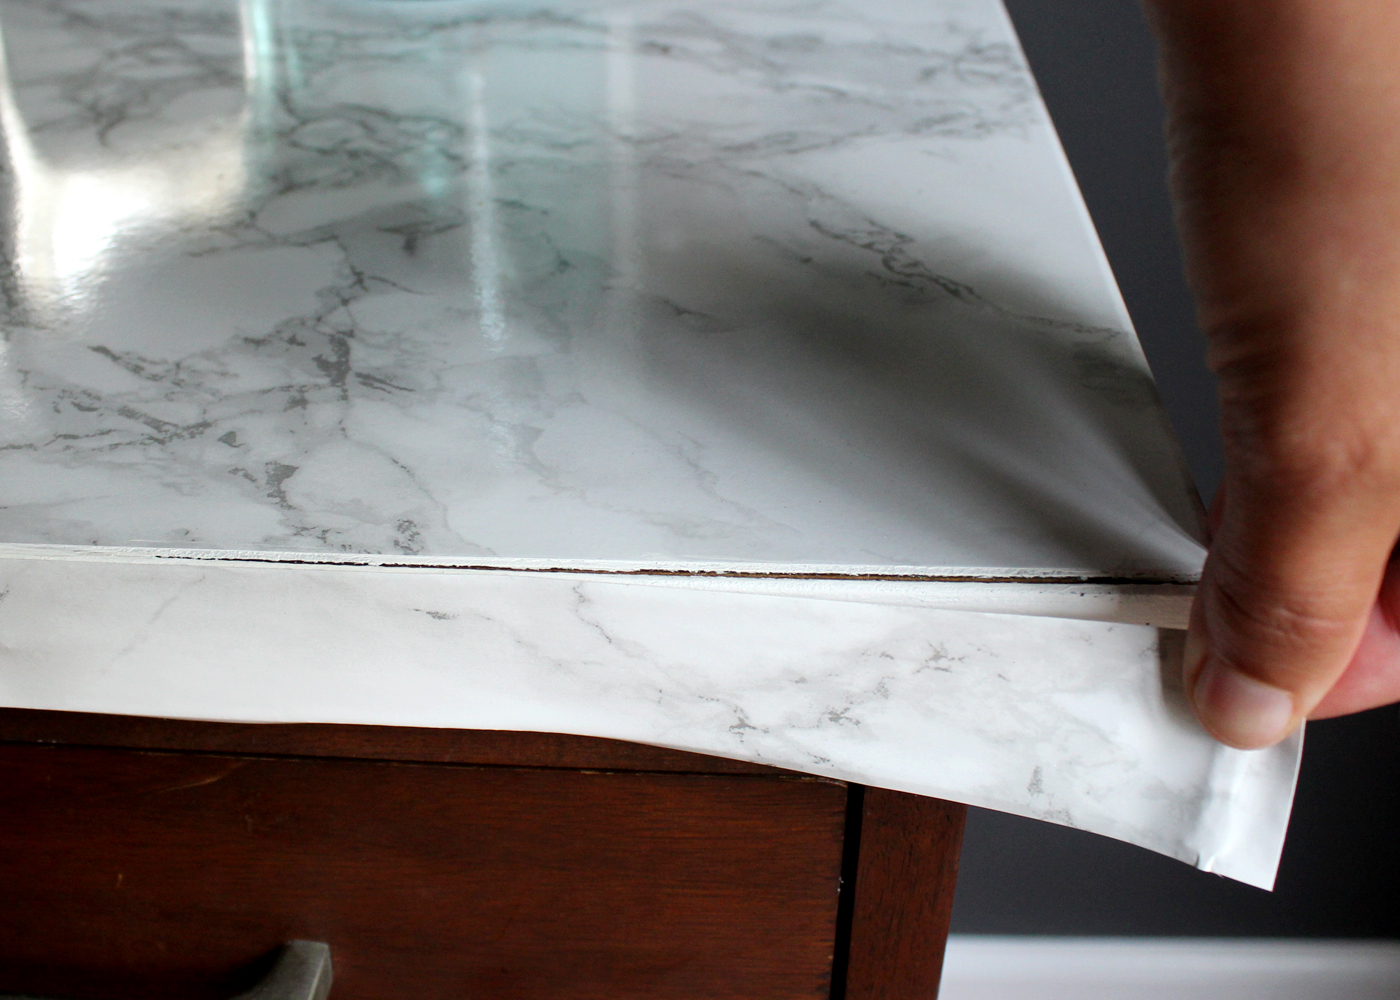
Using the grid lines on the back of the contact paper, measure and cut a thin strip of contact paper for the front of the faux marble tabletop. Apply using steps 2 and 3.
The result is beautiful and refreshes even the most dated furniture! I’m really happy with how the piece turned out in our space. The contact paper covered the formica scratches and lightened up the furniture piece. This faux marble tabletop project took under $10 and can be completed in about 30 minutes.
Let me know if you decide to try it, I would love to see a picture!





This is super cute! Did you use any additional adhesive for the contact paper? I have bad luck getting that stuff to stick.
Oh bummer! We just used the adhesive that came on the back, and it worked great! What are you adhering it to?
Did you put anything on top to seal or protect it? I’m about to do this for a table in my laundry room for folding and holding soap and what not but I want to be able to wipe it down and have it be pretty waterproof. Do you have any recommendations? Thanks!
The contact paper is definitely wipeable as is! We didn’t add any kind of sealant. Occasional water splatters would be fine, not sure I would officially call it waterproof.
Hi Julia! How has this held up? I want to try it on our kitchen table but I thought I’d check with you first!
– Carla
Hi! Its held up great with no scratches or changes in the material. Ours is a buffet table (used mostly for display), a kitchen table would definitely get more day to day wear. But sounds like a fun project to try!
Oh awesome. I think I will probably do this for nightstands in the bedroom. It definitely looks real.
Nightstands would be perfect for something like this, great idea!
Beautiful!! How easy does this come off and does it damage the bottom surface? Thinking about applying it to ugly counters in my apartment.
Hi! We have not tried to remove ours, but I just tested a corner and it seemed to peel back fine. I’d get permission first, then try it!
Beautiful!! Where did you get the contact paper from?
Thanks! I ordered it online on Amazon (http://amzn.to/2qfbTnV)
Amazon! There is a link to it in the supply list above.
Hi, do we need to seal this or its good as is? Does it peel off over time?
We’ve had it 18 months with no peeling or changes. It has a glossy finish already, no sealing necessary!
just ordered the paper off amazon, going to try on Sunday! thank you very much!!!
Hope you love it! We found it really easy to work with.
Beautiful and so realistic. I would love to do some old tv trays but the edges and corners are rounded. Would that be impossible to do and not have it look folded over and messy?
I definitely think it could work! If you feel comfortable, I would adhere the contact paper on the tray, then using an exacto knife…carefully trim so that the marble paper follows the curve. If you want to cover the edges use an extra strip of contact paper for that.
I did this years ago (covered a yellow counter top with almost exact same black/white marbled contact paper!) to a bathroom vanity top and backsplash. Used wallpaper knife to carefully cut around sink. Mitered corners and took paper down over edges rather than cutting separate piece….down and then under the overhang. I then coated the entire surface with about 3 coats of a clear acrylic non-yellowing poly type finish. It looked great and still looked good 4 years later when we sold the house!
I’ve never thought of covering contact paper with a poly type product. I’m so glad that worked for you! Great idea!
Hi this looks great! Do you have any tips on how to cover large surfaces without the edge lines being too visible?
Great question! I haven’t tried adding the contact paper to a large surface. You could intentionally make the seam a different material…maybe something like copper tape?
A tip from Lorraine in Stockholm, Sweden: Along the edges and corners it may after a time unfold and the glue will det. Or if you see that the glue doesnt that good from start – use a hairdryer as you put it on. Then you heat the glue and it sticks better!!
I agree that the edges can be tricky. The hair dryer is a great tip! And extra glue if necessary on the front piece…
Looks great when first finished; however those front seams will peel/roll off within weeks. You really need something to seal the seams …. vinyl polyurethane … finger nail polish???
Ours has been covered for over 2 years without any peeling. If you live in a high humidity environment that could impact its stickiness.