Make a Kid’s Art Gallery Wall
The links in this post may be affiliate links. That means that if you click them and make a purchase, this site makes a commission. It will have no impact on the price you pay or the experience of your purchase.
This shop has been compensated by Collective Bias, Inc. and its advertiser. All opinions are mine alone. #BackToSchoolGoals18 #CollectiveBias
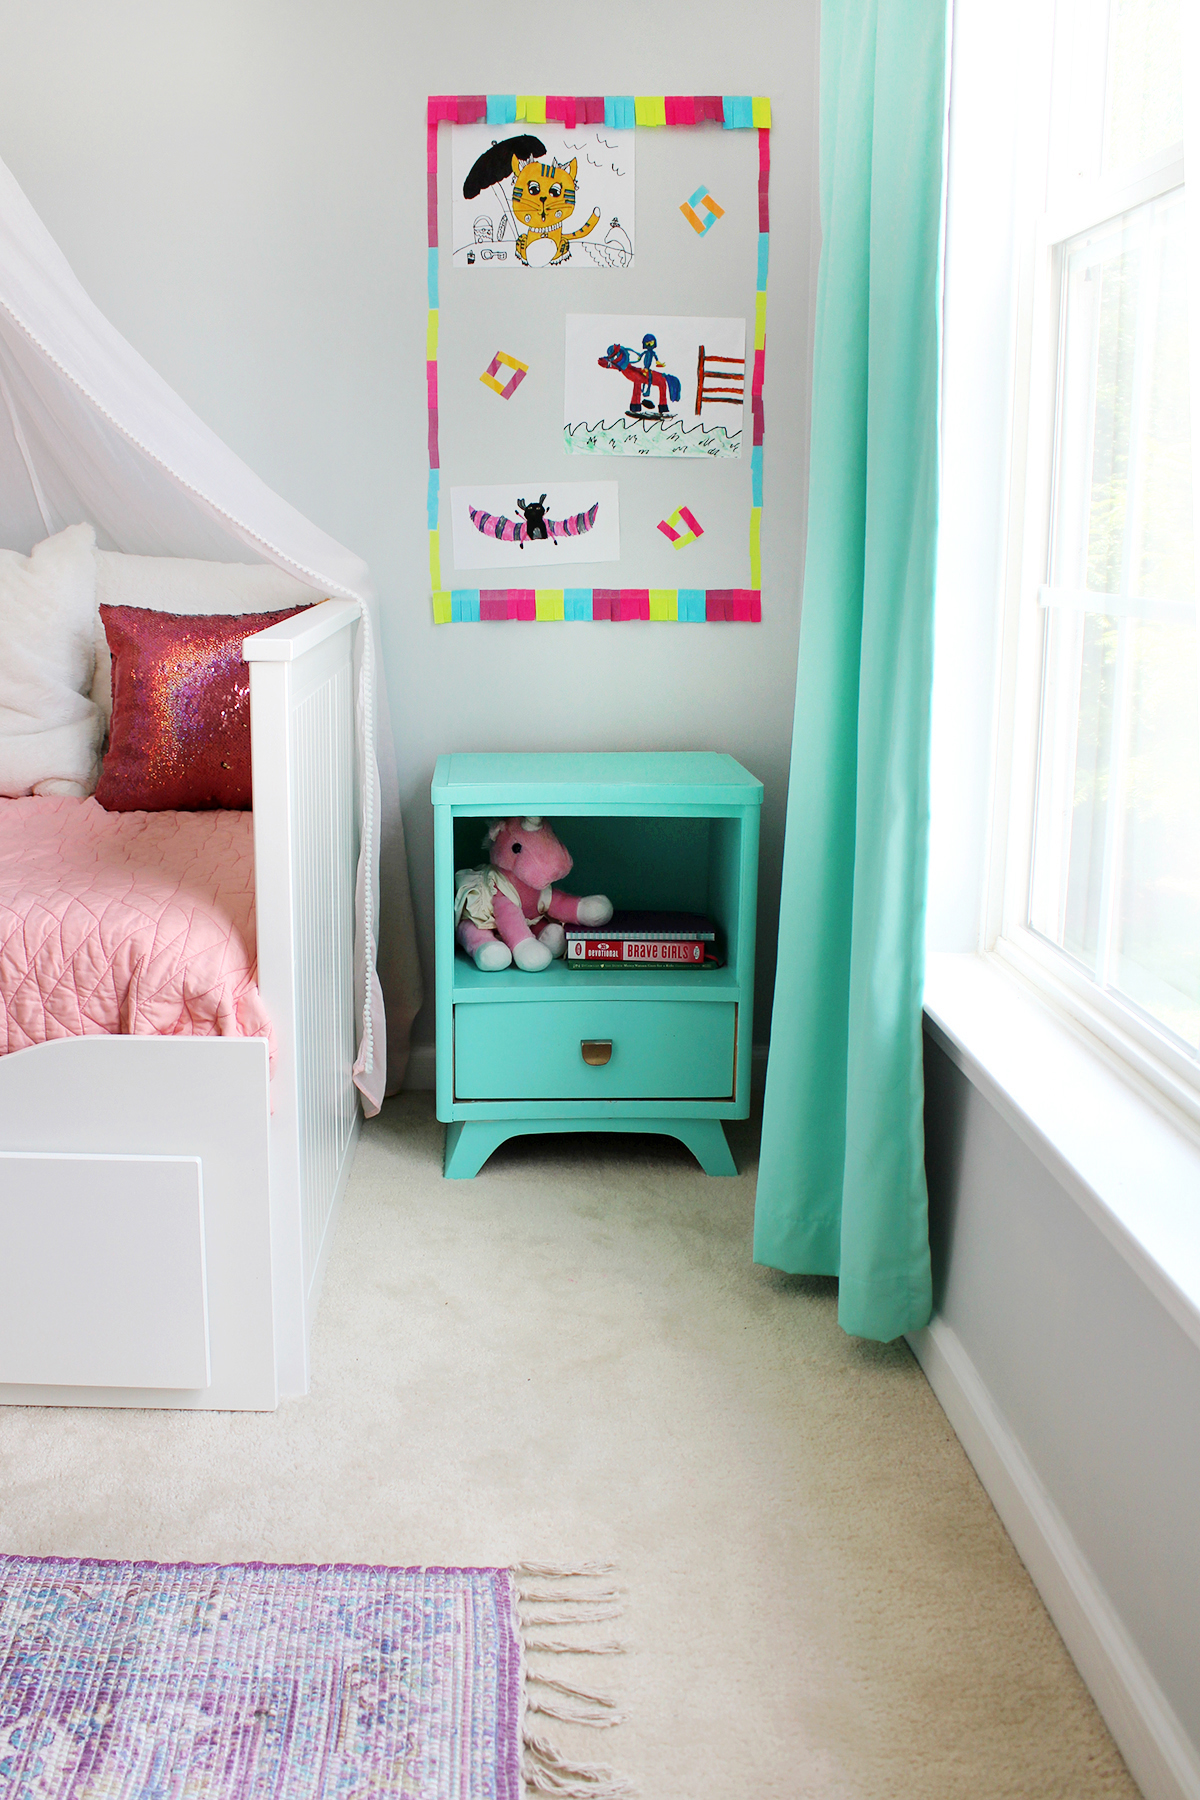
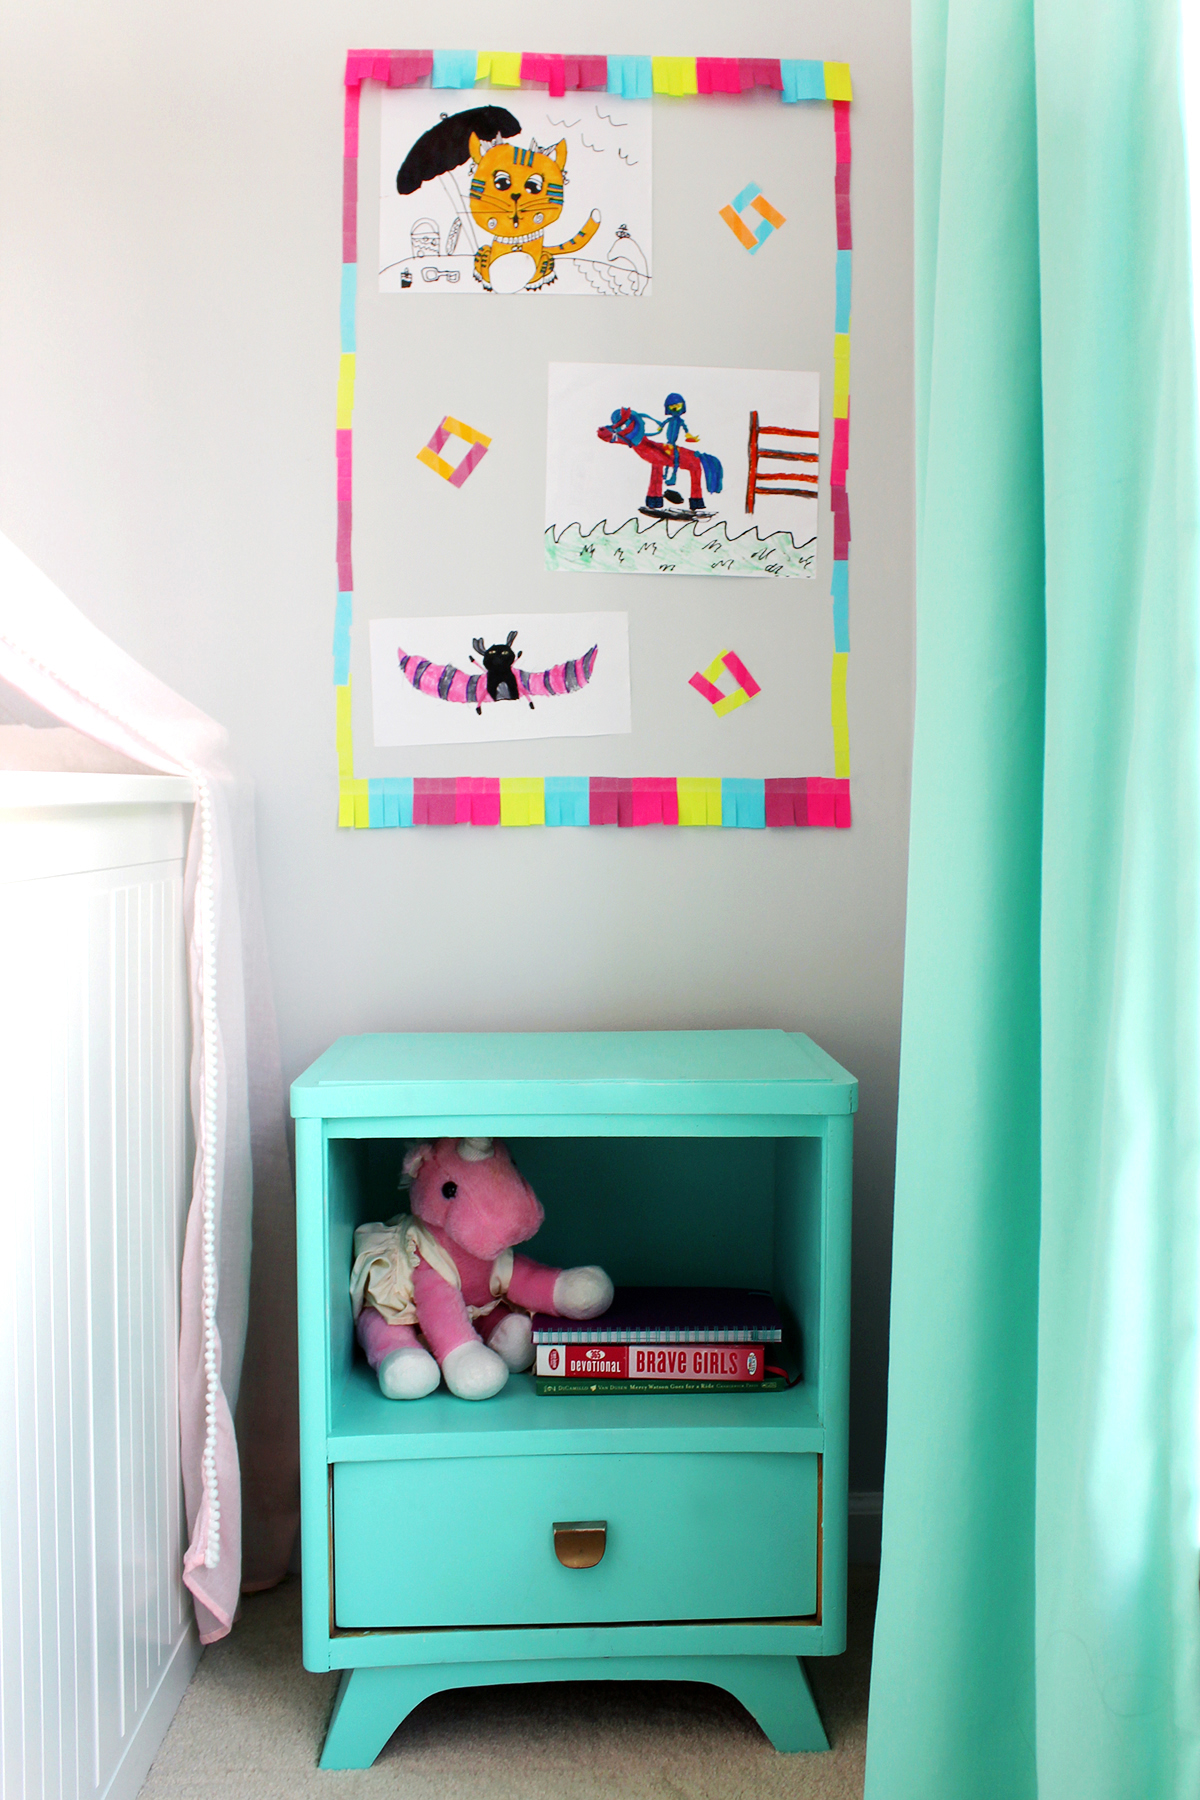
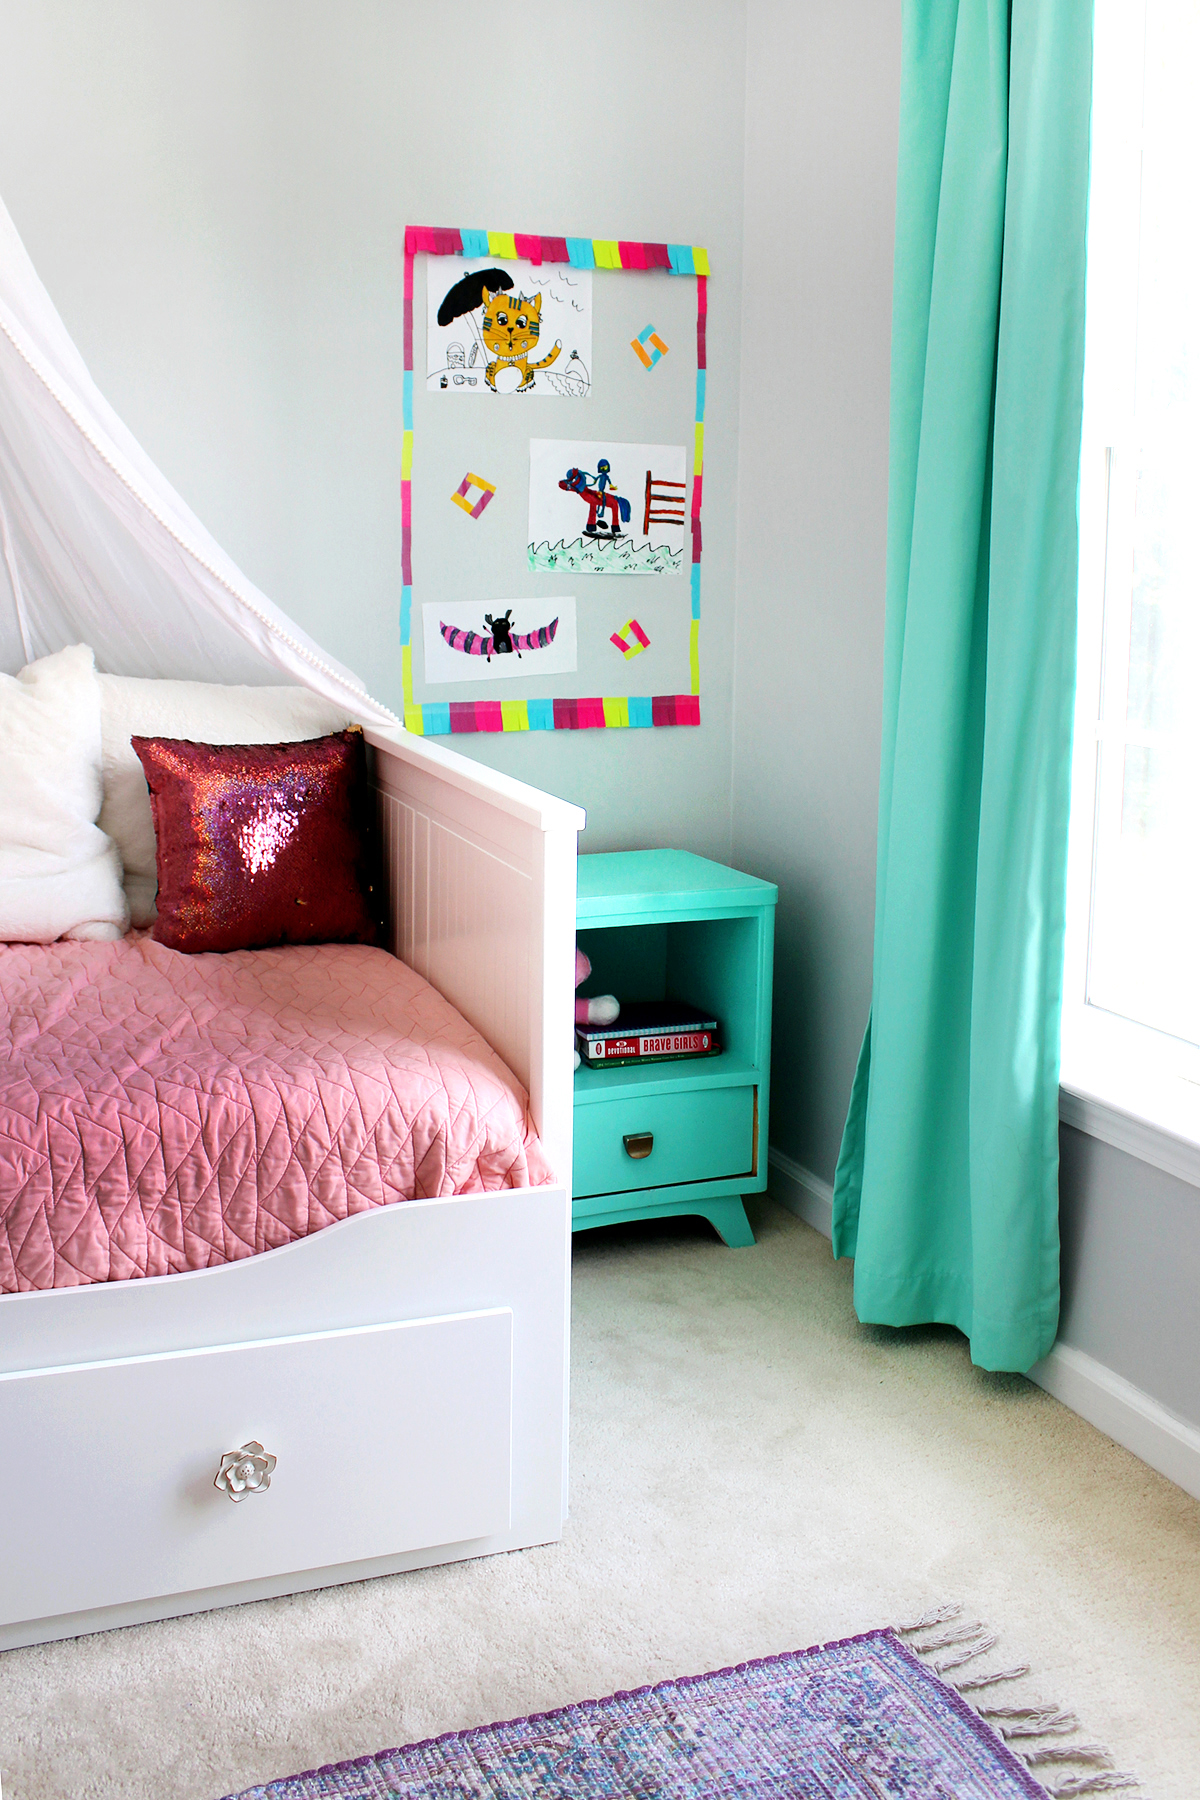
We have 3 more weeks of summer then it is back to normal routines, bedtimes, and homework (shhhh don’t remind our kids!) Our daughter created a LOT of art this summer at art camps and at home. We thought it would be fun to clean up our stacks of art and display some of her favorite pieces in a custom art gallery wall. Hanging up artwork and mementos after camp is one way to bring closure to summer and prepare kids for the transition of going back to school.
Scroll down for how to make a kid’s art gallery wall with steps and pictures!
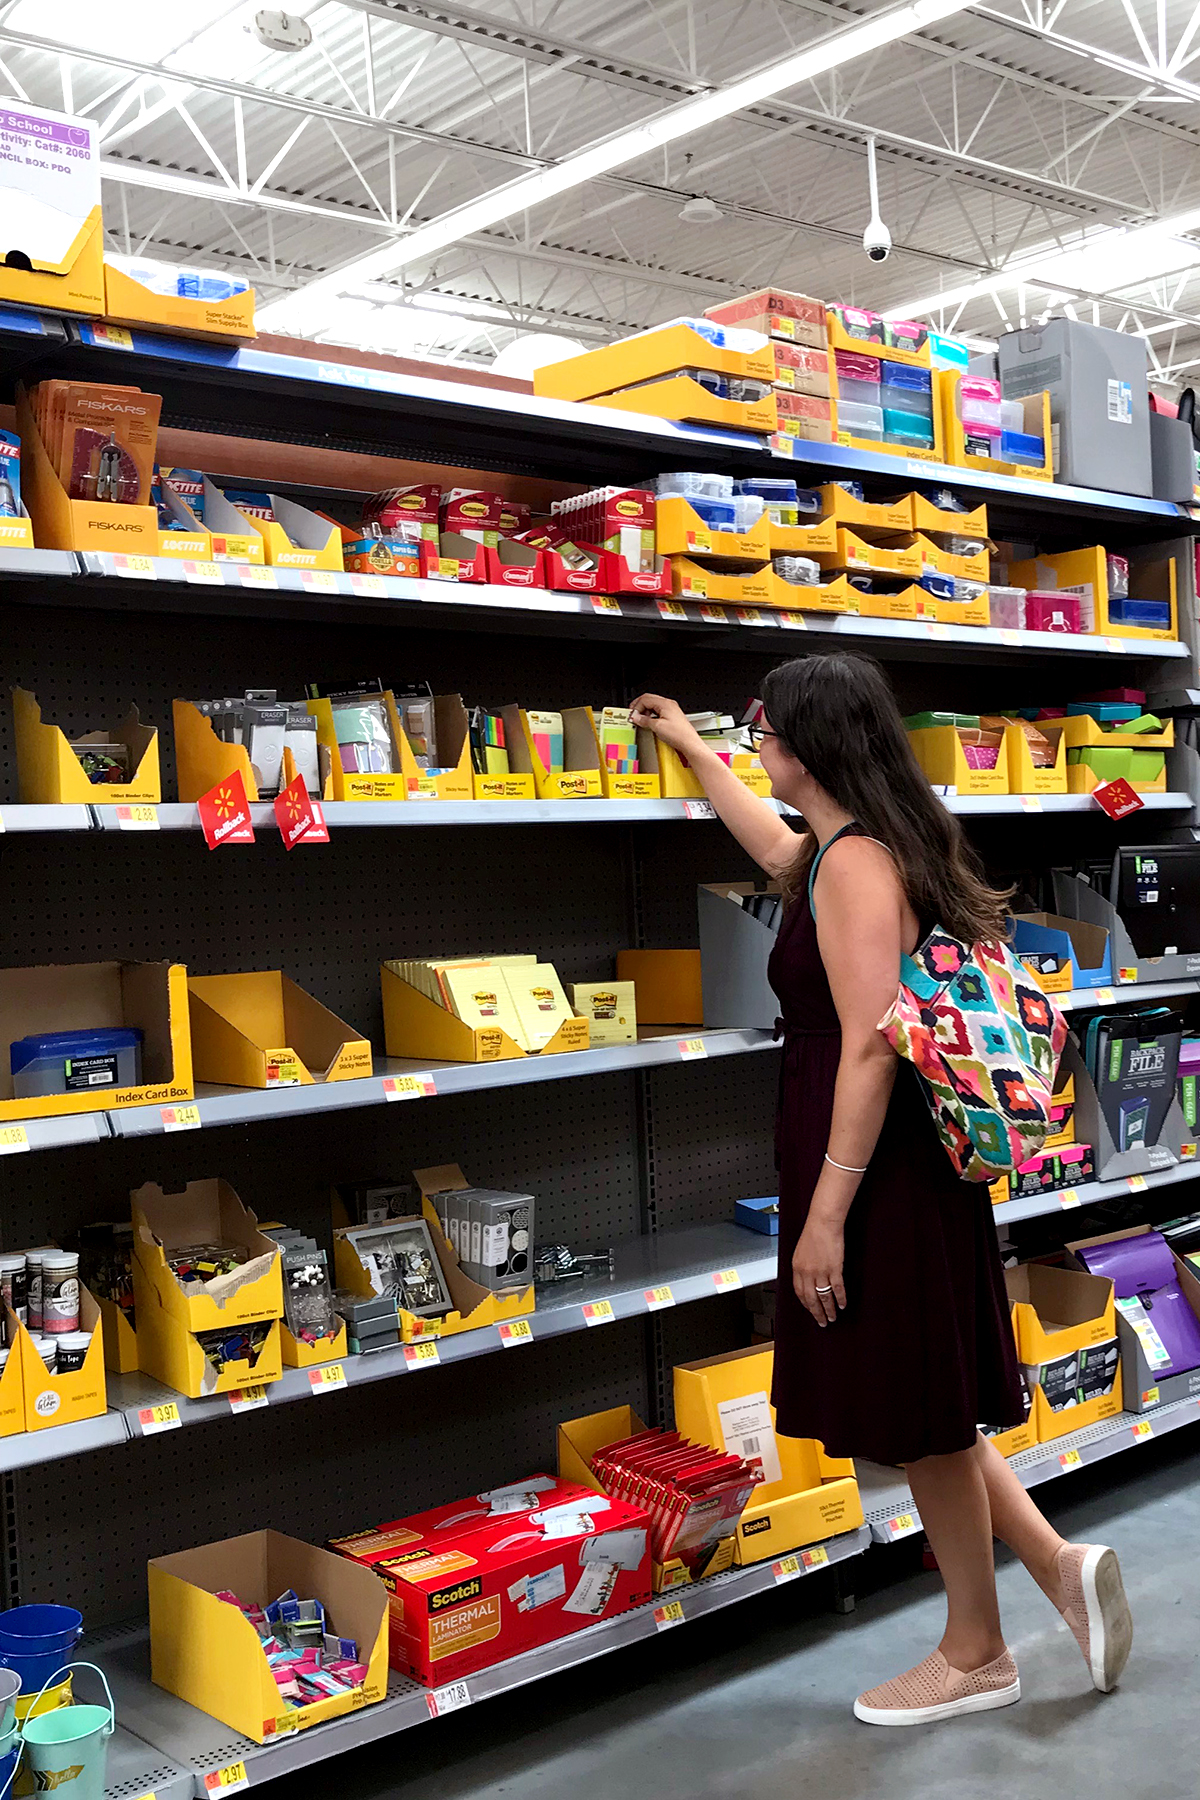
We picked up the supplies for our art gallery wall while shopping for school supplies at Walmart. Our kids’ school supply shopping lists are several pages long. And you only need to add 2 products to your supply list to make this art gallery wall!

Scotch® Wall-Safe Tape is the most important product in this DIY project. I love that the tape is clear and easy to hang, and it pulls off easily if we need to make adjustments to the design without removing paint from the wall. We also used Post-It® Page Markers for some fun, colorful fringe on her gallery wall.
You can find Scotch® Wall-Safe Tape and Post-It® Page Markers in the back-to-school section of your local Walmart.

Summer Art Gallery Wall Supplies:
-Post-It® Page Markers, Assorted Colors
-Custom Artwork on Paper
-Pencil with Eraser
-Yard Stick/Long Ruler
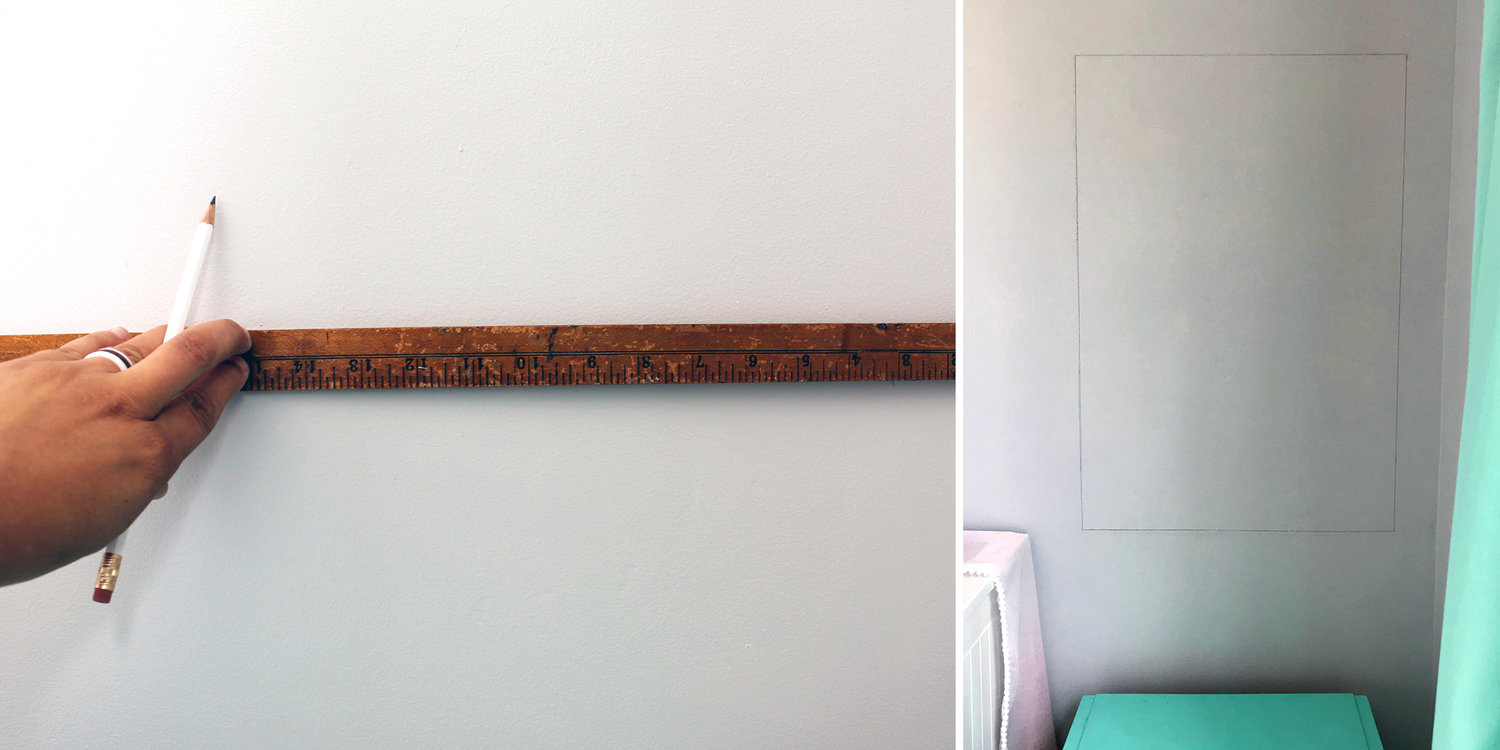
Step 1
Draw a rectangle on wall of choice using a long ruler & pencil. I made our daughter’s rectangle 20″ x 30″. No worries if your make a stray pencil mark–an eraser should remove the pencil mark.
Step 2
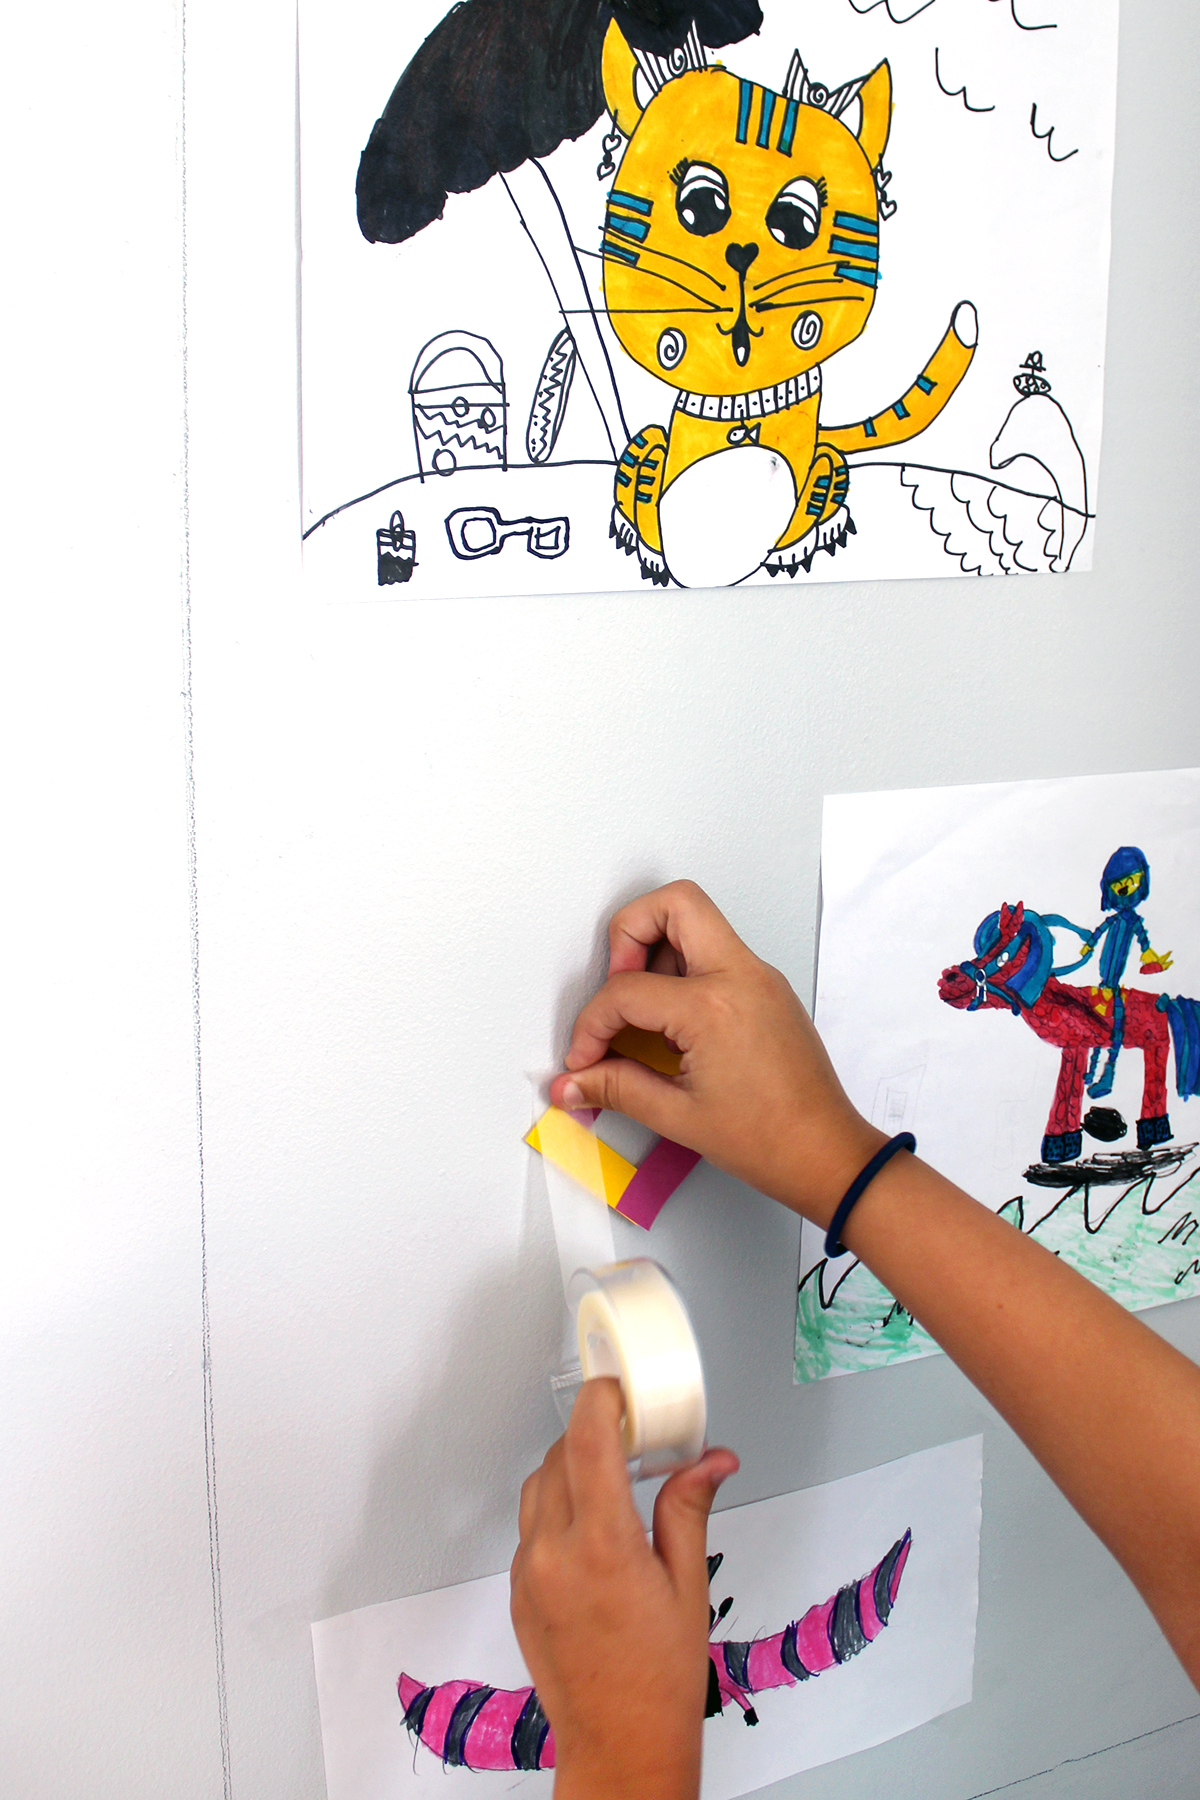
Hang paper artwork using Scotch® Wall-Safe Tape. Get creative! Our daughter also decided to make diamond shapes with Post-It® Page Markers and taped those to the wall.
Step 3
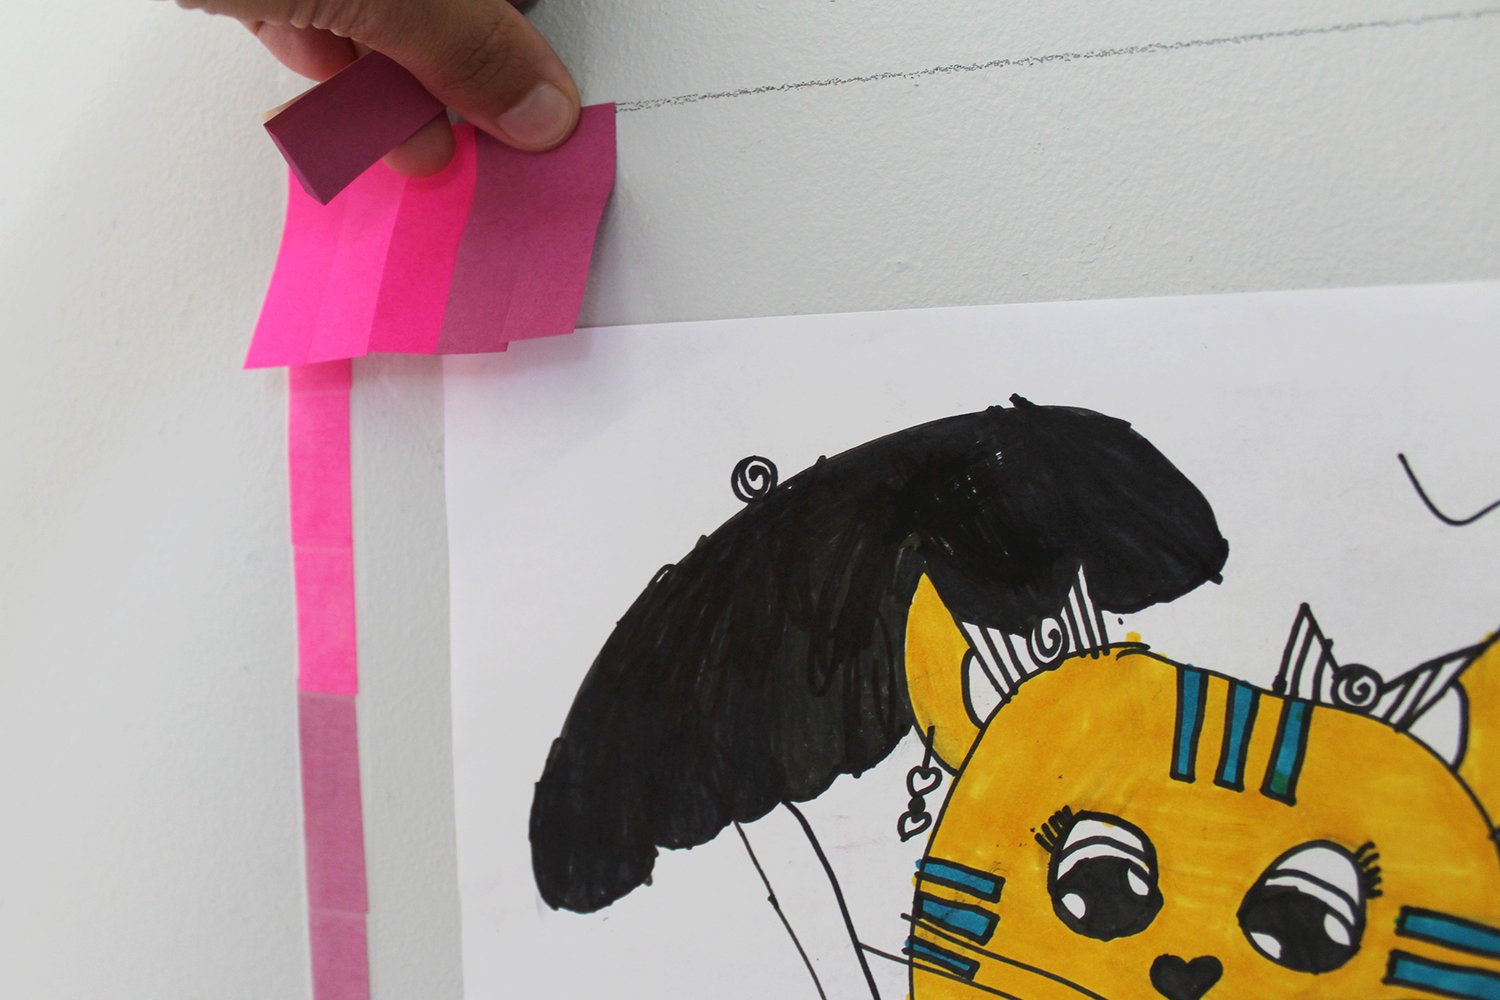
On the left and right sides of the rectangle, cover pencil lines with Post-It® Page Markers. Our daughter picked the pattern (3 of a color, then on to the next color). After the Page Markers are up on the wall, cover with Scotch® Wall-Safe Tape and smooth onto wall to secure.

Step 4
Make a fringe along the top of the rectangle using Post-It® Page Markers to cover the pencil line in your pattern of choice.
Step 5
Once the fringe is up, go back and add a strip of Scotch® Wall-Safe Tape to secure the Page Markers. Repeat Steps 4 & 5 along the bottom of the pencil rectangle to finish the frame.
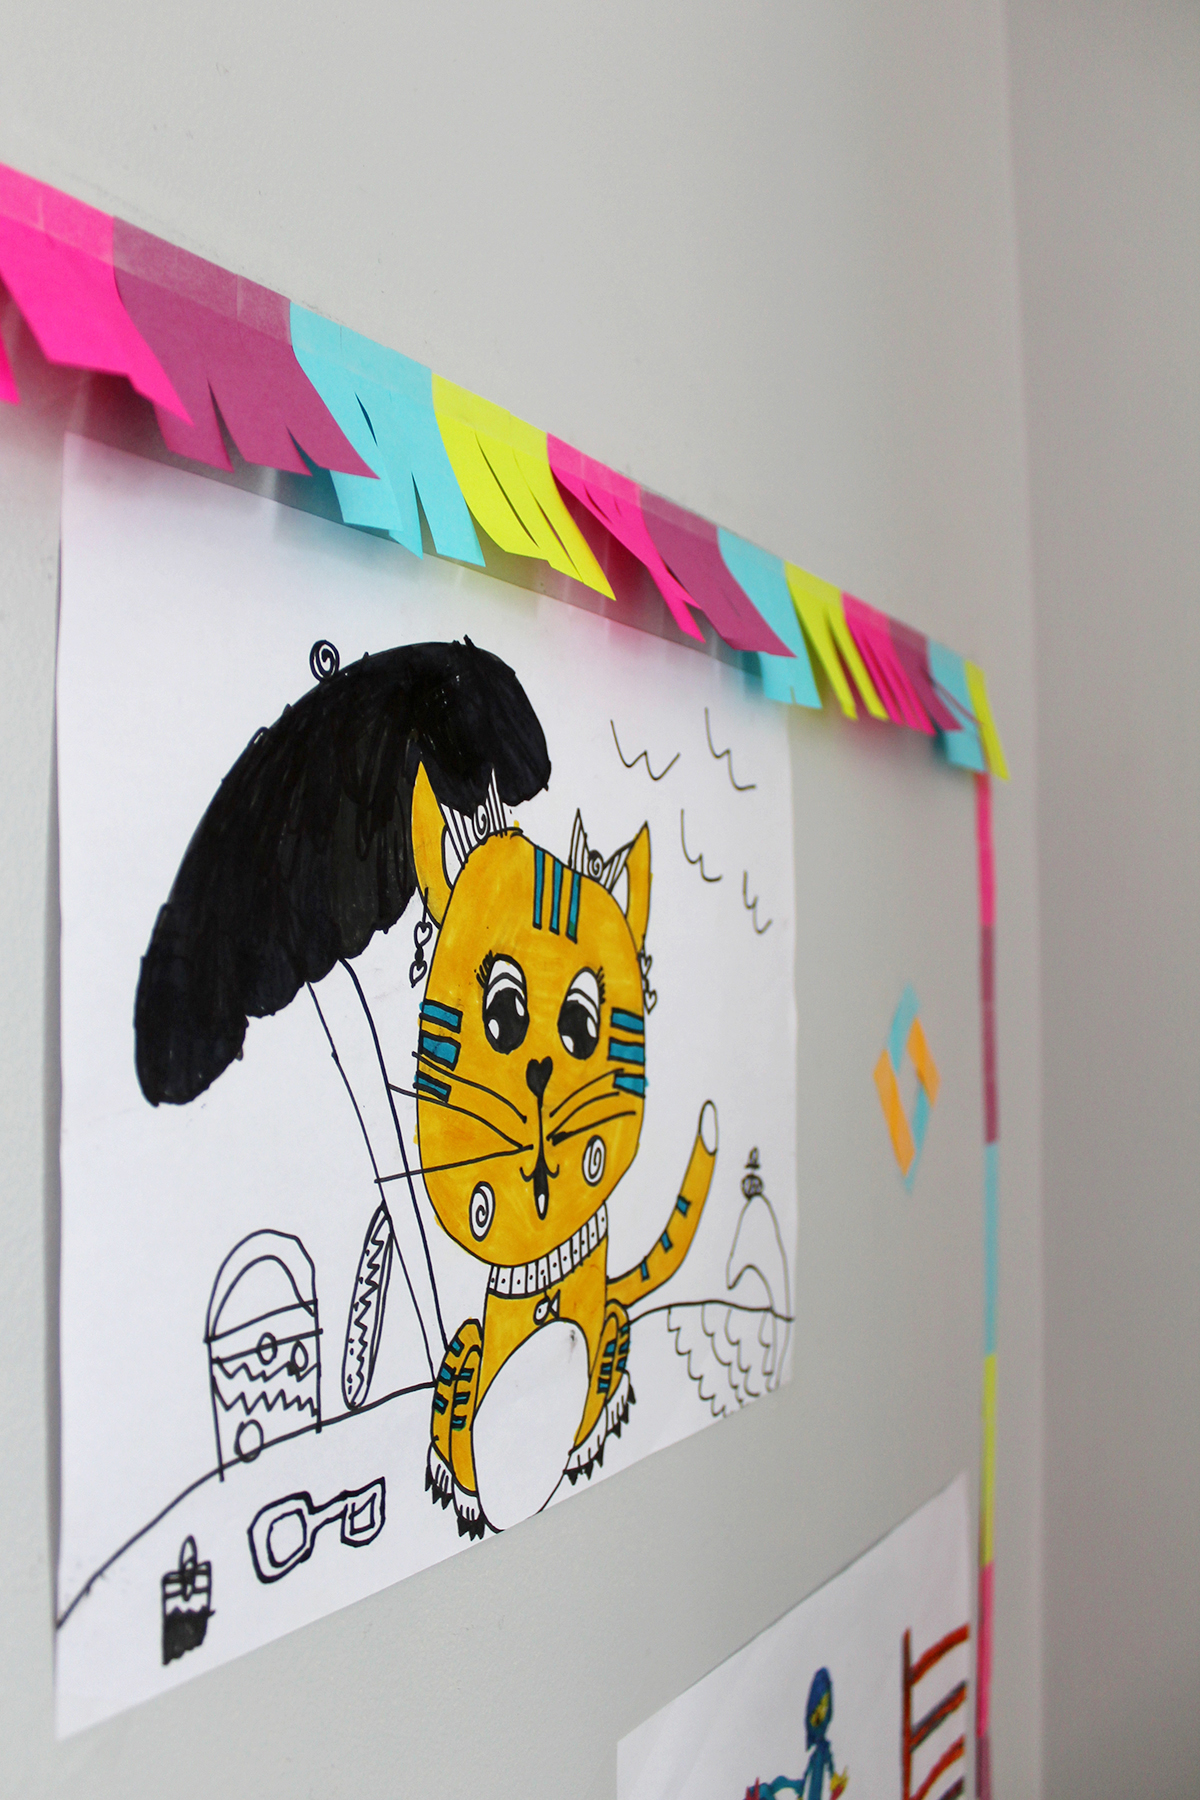
Step back and enjoy the new gallery wall! This is a great project for tweens–they can express their creativity and the Scotch® Wall-Safe Tape is easy to remove to swap out different artwork pieces throughout the year. The supplies were easy to add to our cart while shopping for back-to-school at Walmart, and it was a fun way to transition toward the upcoming school year.
This post was written in partnership with Scotch®. Check out more back-to-school creative ideas here!


