DIY Wood Countertop for $60
The links in this post may be affiliate links. That means that if you click them and make a purchase, this site makes a commission. It will have no impact on the price you pay or the experience of your purchase.
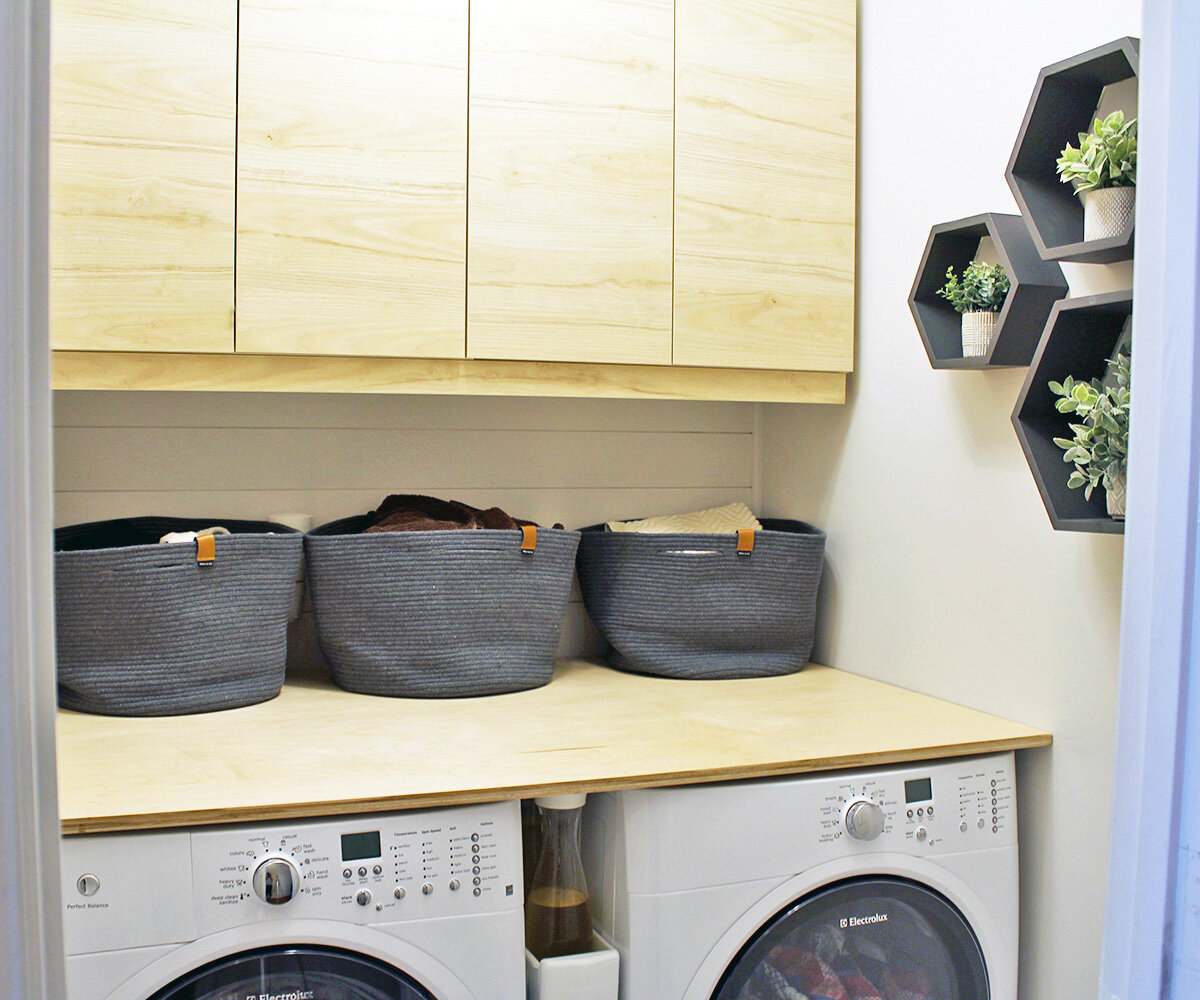
For years we lived with a barely functional laundry room. Our front load washer & dryer were on pedestals with no place to fold clothes or store dirty clothes. This year we decided to redo our small laundry room and take our washer & dryer off the pedestals. By doing that, we created the perfect height for a countertop to fold laundry.
This was our first time installing a plywood countertop. We had the birch plywood material cut in store, then installed scrap 1”x3” pieces slightly above the washer and dryer for the wood to lay on. This was an easy home improvement project that took us an afternoon, and the solid piece of birch plywood cost only $53! Originally I considered a solid piece of butcher block for the space, but it would have cost more and it wouldn’t have been 1 solid piece.
Scroll down for a supply list & step by step directions for how to install a birch wood countertop over the washer & dryer on a small budget.
Script Disabled

After we reinstalled the washer & dryer, before installing the countertop.
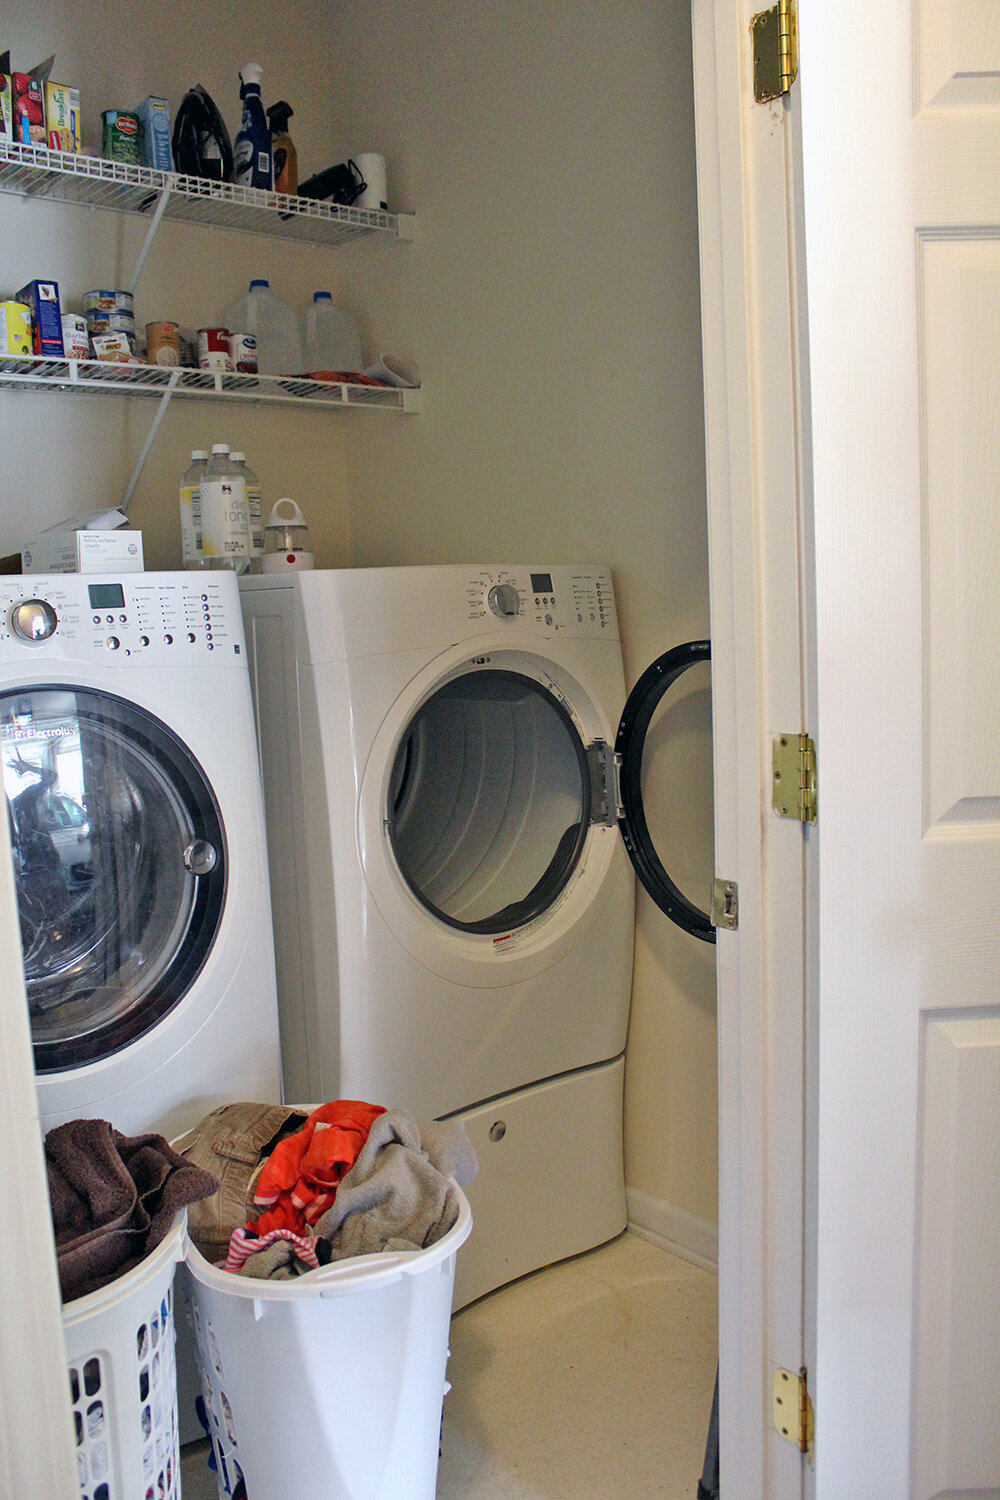
Early this year before we started our laundry room makeover.
This article contains affiliate links, please read my full disclosure here.
Supplies
Birch plywood, ¾” depth (measure first and have it cut in store)
Measuring Tape or Ruler with Pencil
Level
Scrap 1”x3” pieces or similar
Nail Gun (optional)
Stud Finder (similar)
Drill
Bumper pads (similar)
(We owned all supplies except for plywood material)
Total cost for countertop install = under $60
Step 1:
Measure the space in your laundry room. Decide how much of the material you want to cover your washer and dryer, and plan that your walls might not be perfectly plumb (we had an extra 1/4” or so cut off the width for this).
Purchase birch plywood in store and have them cut the piece of wood according to your measurements before bringing it home. Request to take home the scrap pieces of plywood for other future projects.

Step 2:
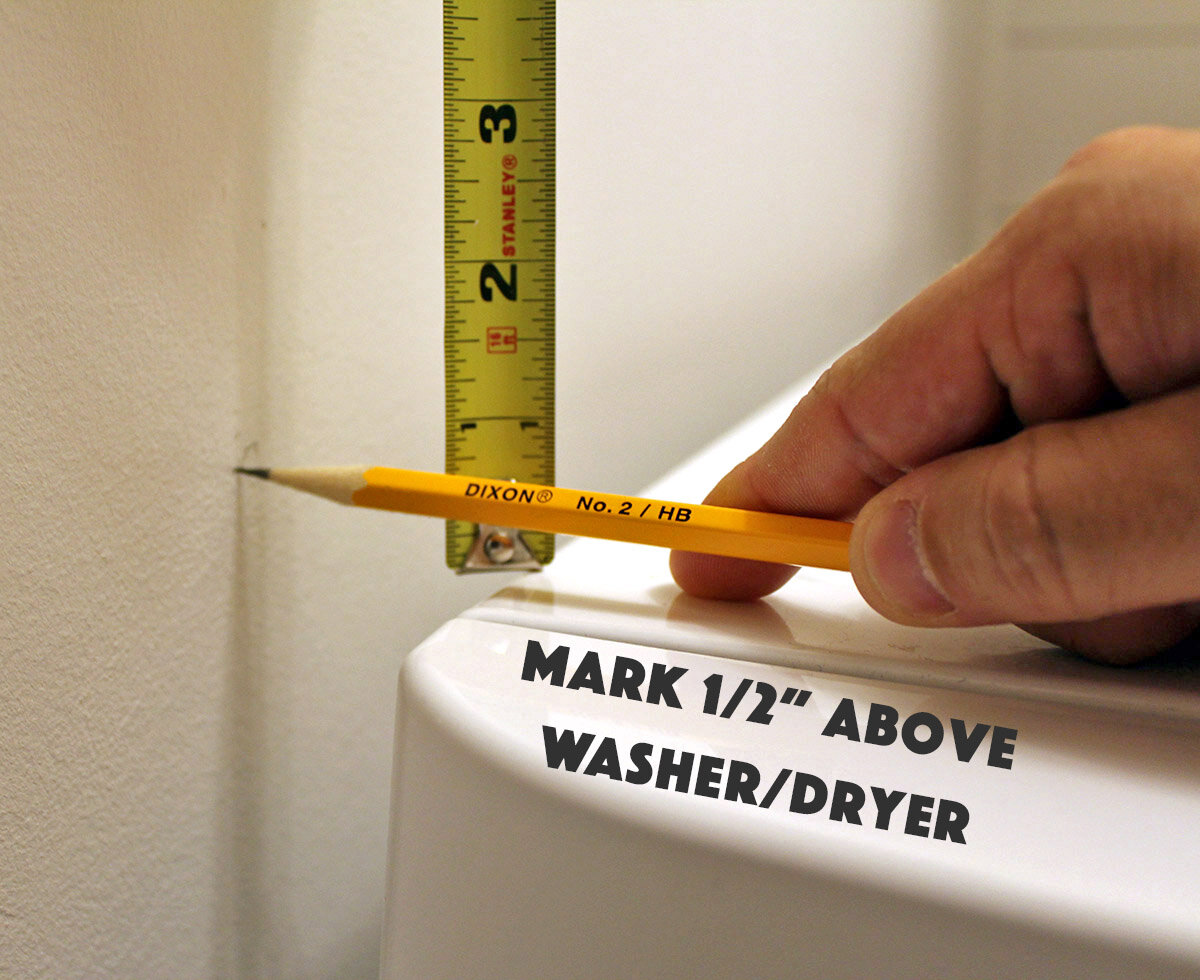
Using a pencil and a measuring tape or ruler, mark ½” above the washer & dryer along the back and side walls. If your front load washer & dryer have been removed or not yet installed, you can measure their height and then add ½” to it.
Step 3:
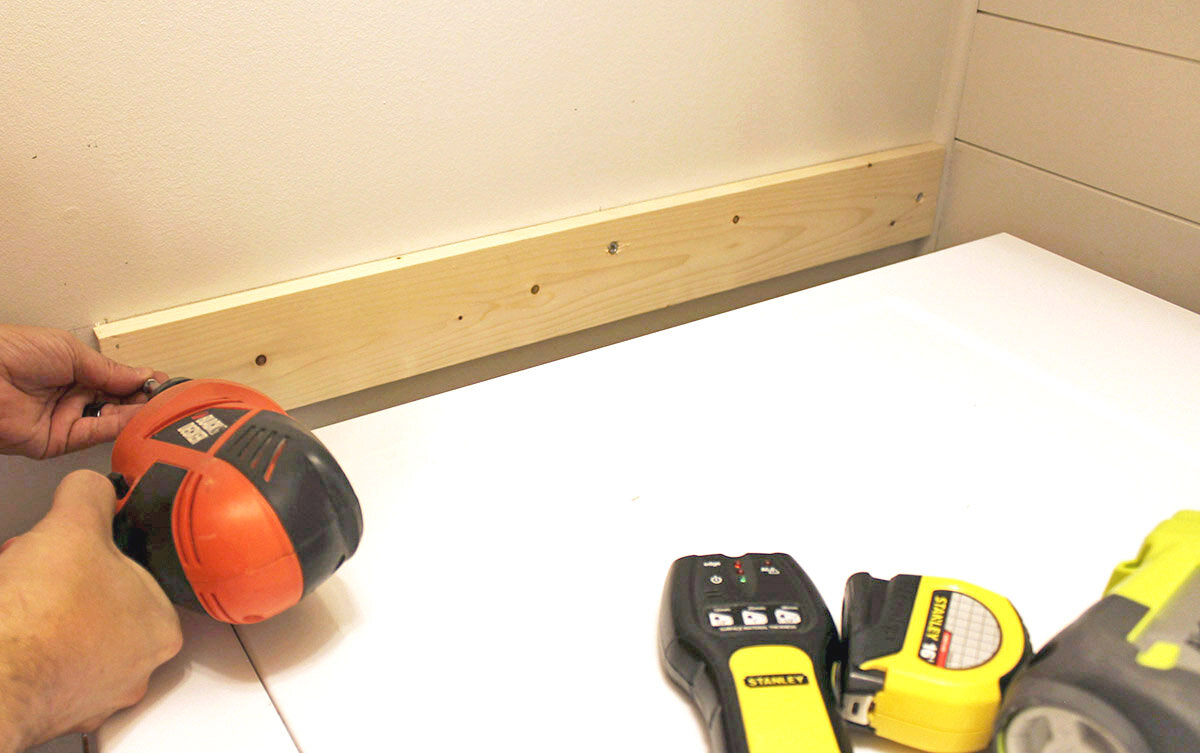
Use a level and a pencil to draw a line on all 3 walls of where the 1”x3” boards will be installed. The pencil line represents where the top of the board will be installed.
Step 4:
(Optional) Use a nail gun to tack the boards in place. You will use a drill in step 5, but it can be useful to hold the board temporarily in place while you set up the drill position.
Step 5:
Find studs along walls using a stud finder and mark with a pencil. Drill screws into 1”x3” boards, repeating on all 3 walls using at least a few of the studs.
Step 6:
(Optional) If you have any trim detail on a wall, use a pencil, dremel, and sandpaper to cut a gap for the plywood to fit flush. See image below for more details.
Step 7:
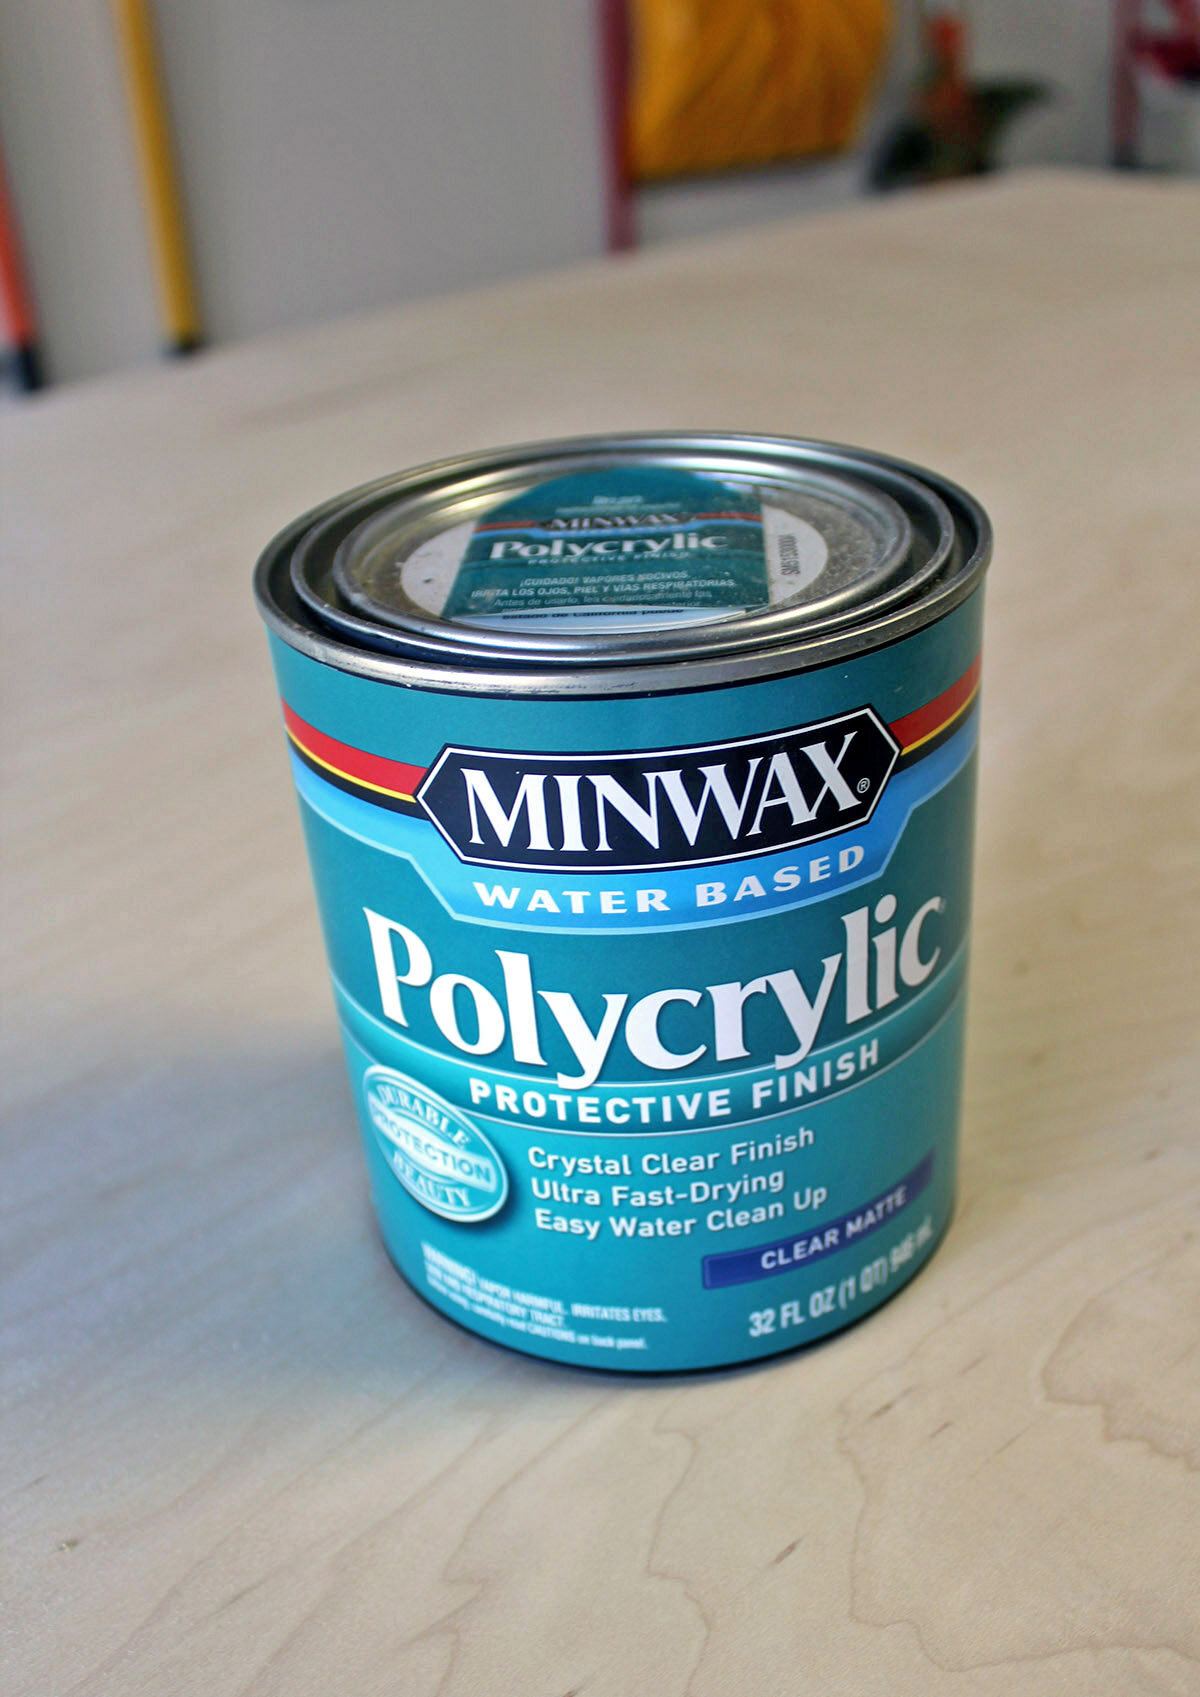
Cover the plywood with coats of polyurethane according to its directions. This will help seal the wood and give the material a smoother finish. We really liked the natural color of the wood and it goes with our cabinetry, but you could stain the material for a darker finish.
Step 8:
Install the plywood on top of the 1”x3” boards. Use bumper pads on top of the washer and dryer to prevent the wood from touching the appliances and to dampen vibration.
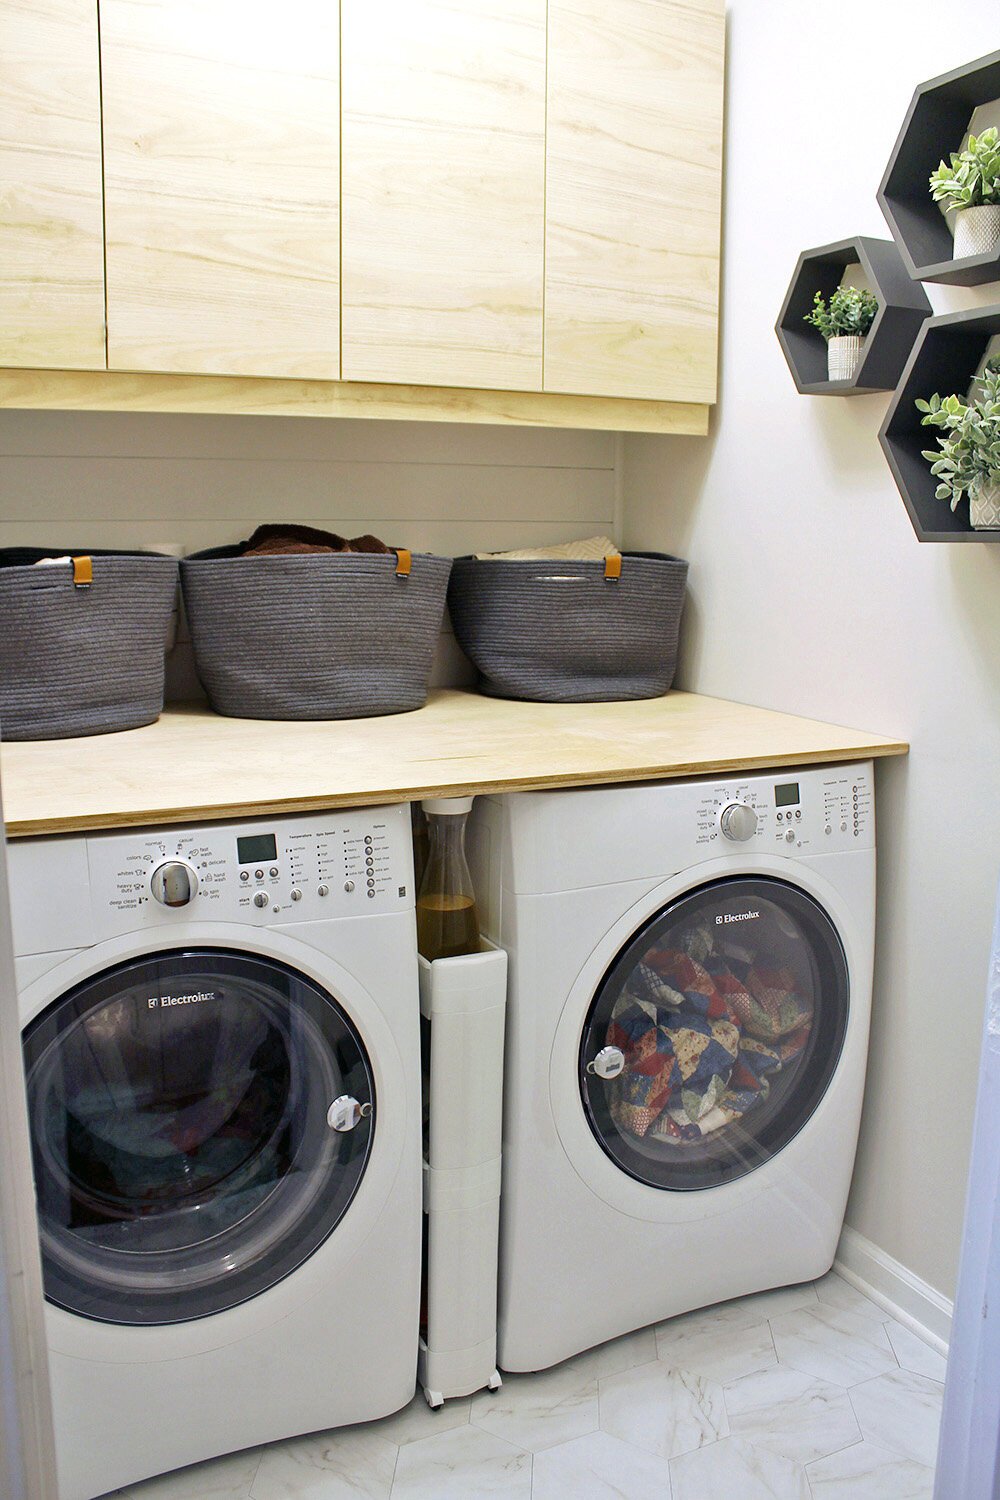
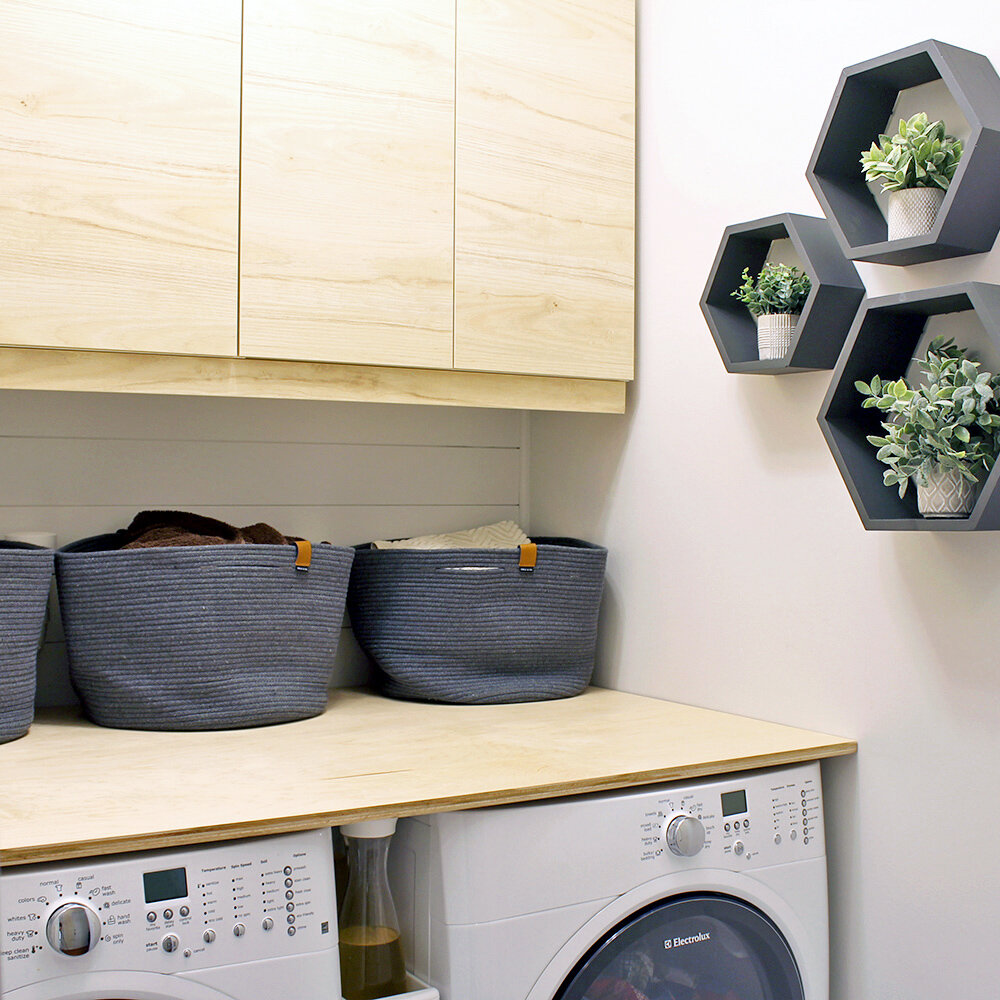
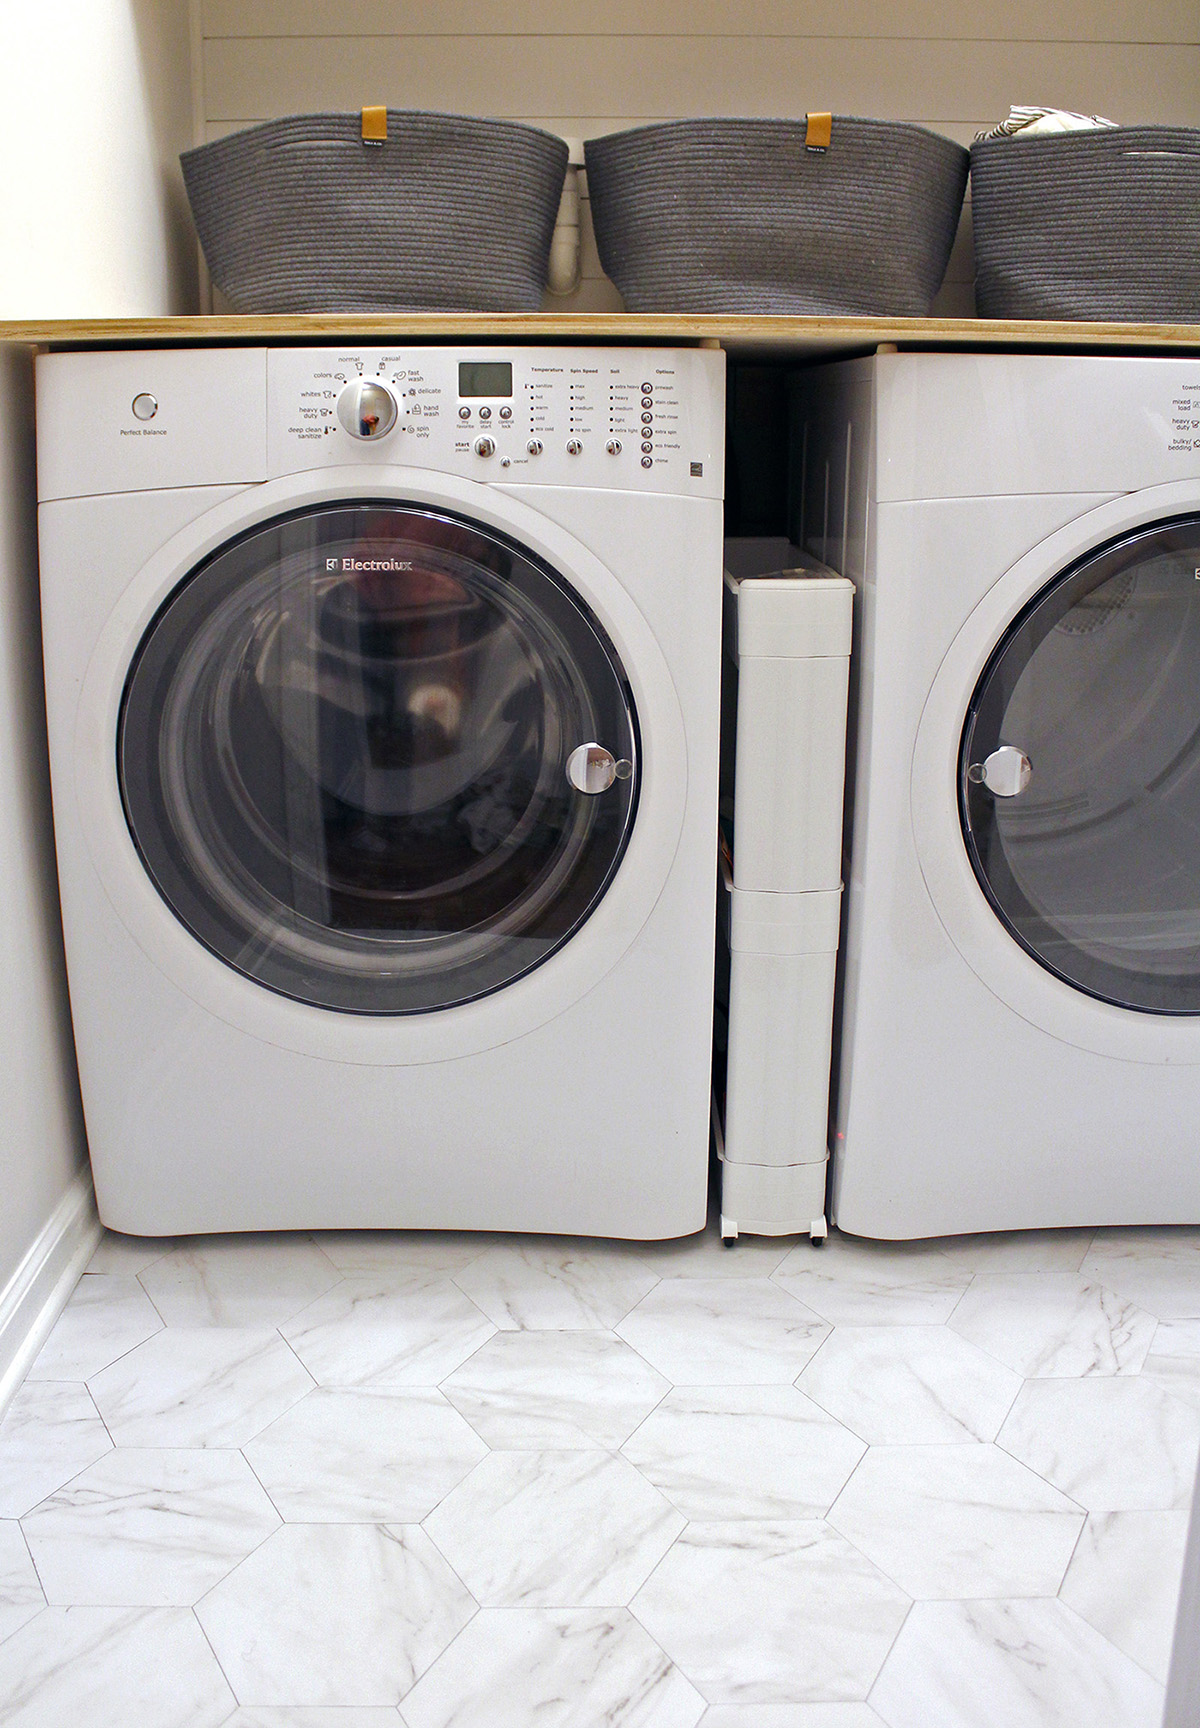
Now you can enjoy your new laundry room countertop! We left our front edge natural, but you could also cover the edge with contact paper or paint if you prefer. It is really helpful to have a wood counter to lay out everyone’s clothes after they come out of the dryer. And the countertop is deep enough to have clean & dirty baskets along the back wall too. If you have front loaders this is a great space saving option for a small laundry room.

The counter top was a big component of our laundry room makeover. We just have to install our double barn doors then I’ll share a complete reveal with some neat space saving products we included in the space.


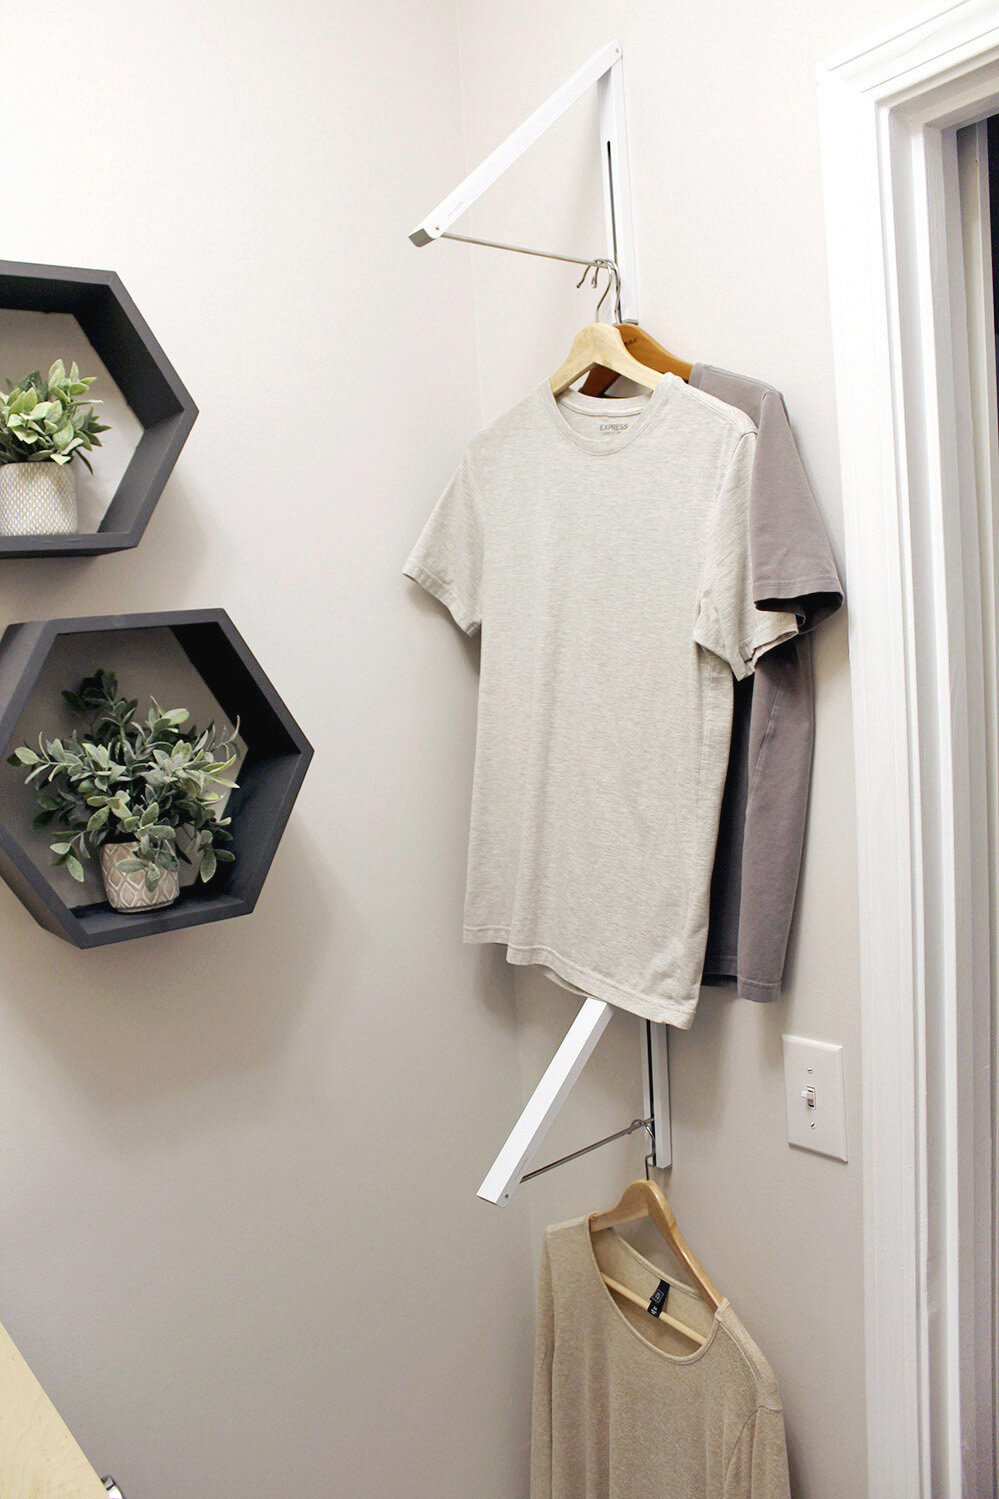


The floating hexagon shelves are soooooo cute! Can you share where you got them?
Thanks!! I got them on Amazon and painted them grey with leftover paint. Writing an article this month that will include more info on them!